Post by Tyson on Aug 30, 2012 5:39:25 GMT -8
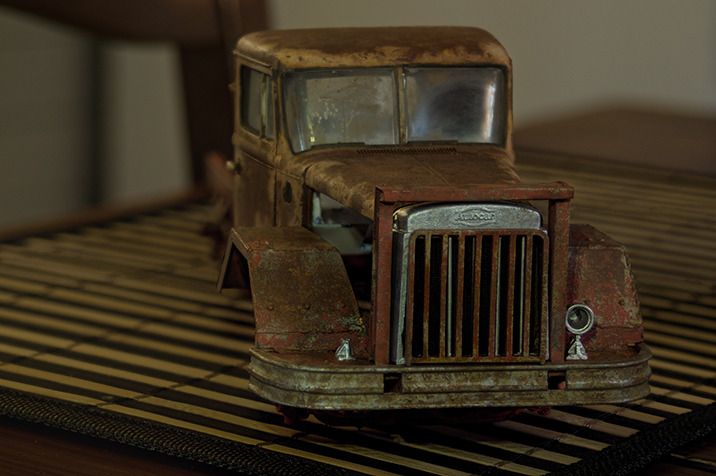
I've had a lot of people inquire as to how I do my rust. One of those people was arnd. On The Truckstop forum he asked, and I was a bit flattered, since it was one of his trucks (his single axle WWS) that I initially saw and said to myself, "I want my rust to look as good as his."
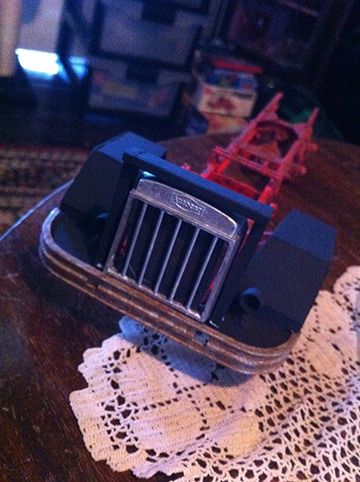
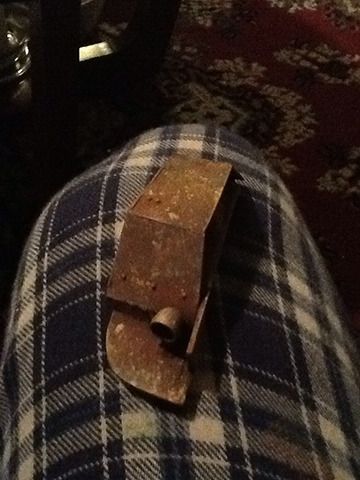
Well, here's the beginning of my (long) process. This is the base rust coat.
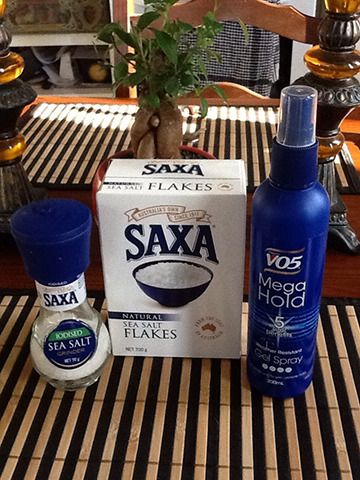
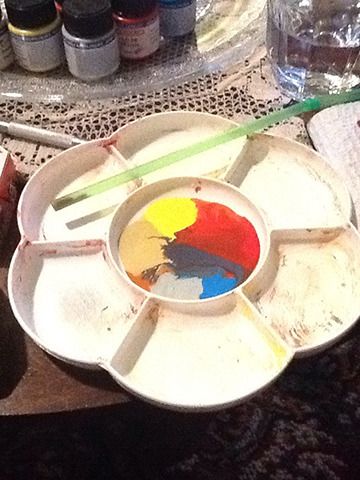
Here are the paints I'll be using for the first step.
I work almost exclusively with acrylics. They're extremely easy to work with, and the colours are always a bit matte, even the "glossy" colours, which is a plus for a dirty truck.
Top to bottom, left to right:
Matte Black
Rust
Gaillo (sort of a tan yellow)
Matte Yellow
Light Blue
Light Rust
Matte Orange
Matte Red
Matte Pale Blue
You don't have to use these exact colours, but something close is needed.
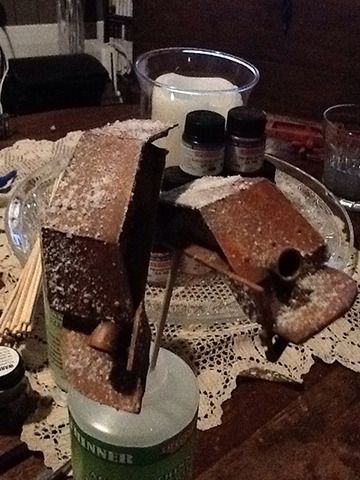
First thing's first. Anything you want rusted should get a nice coat of Matte Black.
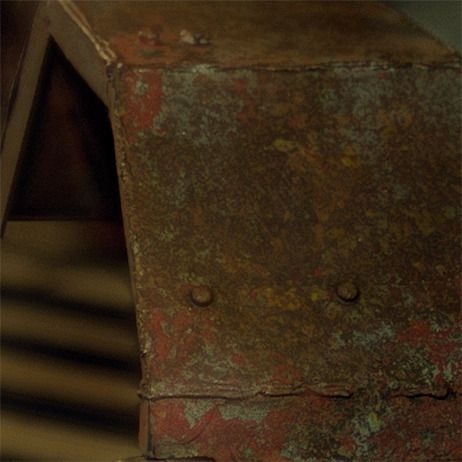
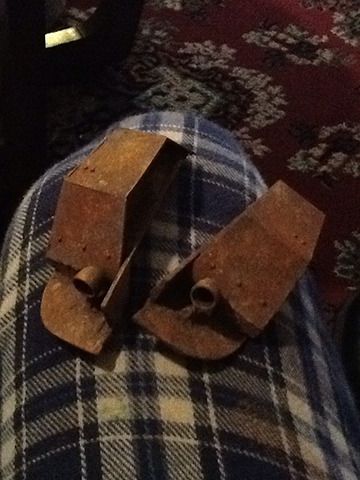
The next part (I forgot to take a picture of this step) is spraying a bit of Rust over the black. You don't want full coverage. You want to leave crevices, dips etc. with a bit of black. Basically, where ever you spray you want the outer edges left with a bit of black. On the big surfaces you can spray a bit heavier in spots to show more wear. Don't get too heavy handed with it, but you do want some variation.
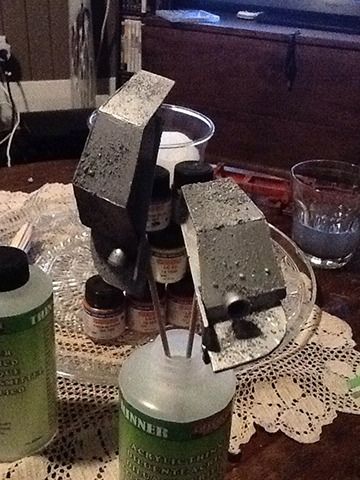
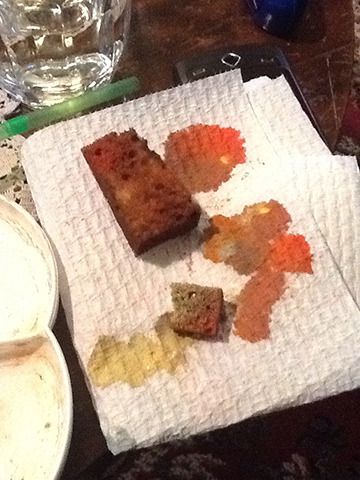
The next step is dabbing. You'll want a couple of sponges. I use a standard dish sponge and one of the sponge brushes used for painting edges and corners in houses. Rip off a bit of both so you have uneven edges. The more non-uniform the better. You can have as many bits of sponge as you like. The more pieces you have the less uniform it will end up. If you want you can regularly switch sponge pieces thoughout the process. You'll also want a paper towel or something similar to dab excess paint onto.
Take the remaining paints and put them in separate pools on your palette. Add just a dab of water to each colour. You want them to be thinned and a bit runny. Not too thin, but definitely thinned. It's okay if the colours run together in the middle. That's what we want because we'll be using that later.
Now, take your sponge and dip it in your first colour. Doesn't matter which colour you start with or in which order you progress. Dab the excess paint onto your paper towel. You want almost no paint on the sponge. It's sort of like dry brushing. Now just dab in random places. You don't have to cover the whole piece in every colour. Just remember that you want it to be as random as possible.
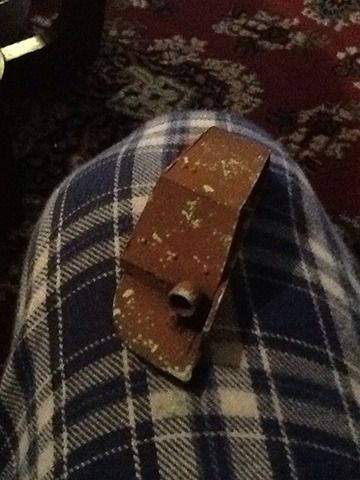
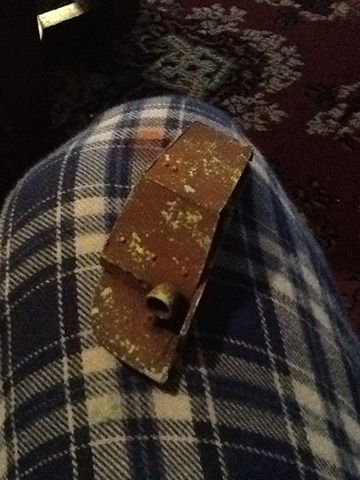
Here's what it looks like with my first colour (the tan looking yellow).
As you can see, it looks bright. Not to worry. It'll all come together in the end. The colours will all look bright and "wrong" as you're applying them, but don't fret. One thing I have to say, though, is go easy only the blues. That's one colour you want to use sparingly. You'll want to space them out a bit more. These colours are there to represent oxidized rust. You can go a bit heavier if you want more oxidization, but, as a base, I usually go a bit lighter. It's up to you to choose how to implement this though.
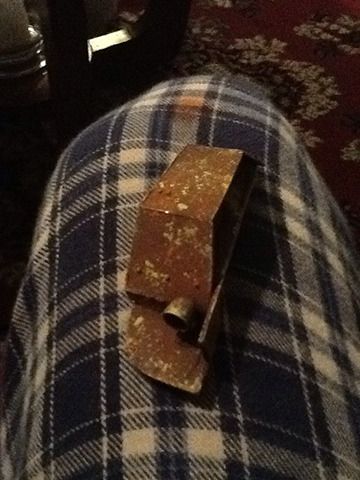
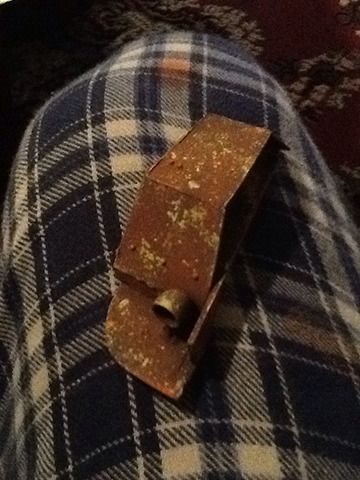
The following are pictures, each with one more of my colours added.
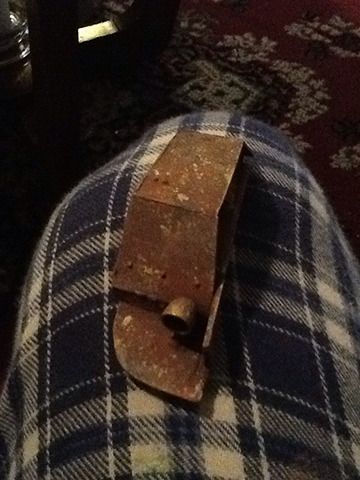
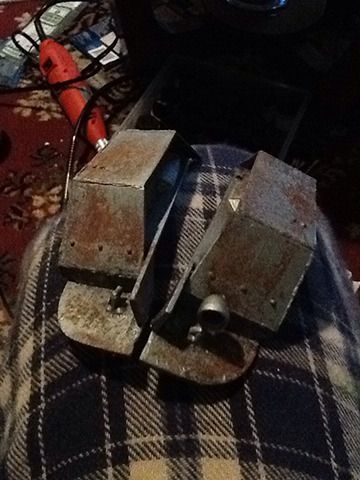
Now that all the colours have been applied, it's time to put that soppy, watery mess in the middle to use. Use your other sponge, and tap it into the soup. Now give it a little tap on your paper towel, and tap the nastiness on your parts. You basically want a nice layer of dirty, murky water covering your pieces. Now take a piece of dry sponge, and go over your parts gently dabbing them dry. You still want a bit of the wetness, but you don't want them sopping wet. What this does is dampen those sharp bright reds, blues and yellows.
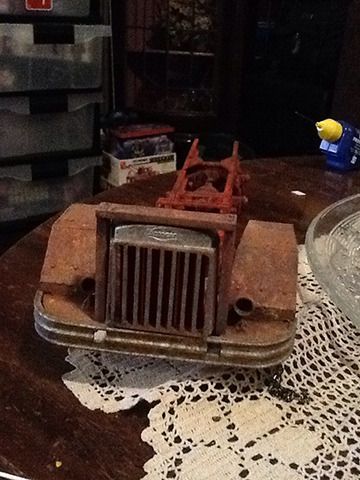
That's what I consider my first step. The "base" rust coat.
Following this I'll add how to paint over this and get your rust thoughs.
Well, here's the beginning of my (long) process. This is the base rust coat.
Here are the paints I'll be using for the first step.
I work almost exclusively with acrylics. They're extremely easy to work with, and the colours are always a bit matte, even the "glossy" colours, which is a plus for a dirty truck.
Top to bottom, left to right:
Matte Black
Rust
Gaillo (sort of a tan yellow)
Matte Yellow
Light Blue
Light Rust
Matte Orange
Matte Red
Matte Pale Blue
You don't have to use these exact colours, but something close is needed.
First thing's first. Anything you want rusted should get a nice coat of Matte Black.
The next part (I forgot to take a picture of this step) is spraying a bit of Rust over the black. You don't want full coverage. You want to leave crevices, dips etc. with a bit of black. Basically, where ever you spray you want the outer edges left with a bit of black. On the big surfaces you can spray a bit heavier in spots to show more wear. Don't get too heavy handed with it, but you do want some variation.
The next step is dabbing. You'll want a couple of sponges. I use a standard dish sponge and one of the sponge brushes used for painting edges and corners in houses. Rip off a bit of both so you have uneven edges. The more non-uniform the better. You can have as many bits of sponge as you like. The more pieces you have the less uniform it will end up. If you want you can regularly switch sponge pieces thoughout the process. You'll also want a paper towel or something similar to dab excess paint onto.
Take the remaining paints and put them in separate pools on your palette. Add just a dab of water to each colour. You want them to be thinned and a bit runny. Not too thin, but definitely thinned. It's okay if the colours run together in the middle. That's what we want because we'll be using that later.
Now, take your sponge and dip it in your first colour. Doesn't matter which colour you start with or in which order you progress. Dab the excess paint onto your paper towel. You want almost no paint on the sponge. It's sort of like dry brushing. Now just dab in random places. You don't have to cover the whole piece in every colour. Just remember that you want it to be as random as possible.
Here's what it looks like with my first colour (the tan looking yellow).
As you can see, it looks bright. Not to worry. It'll all come together in the end. The colours will all look bright and "wrong" as you're applying them, but don't fret. One thing I have to say, though, is go easy only the blues. That's one colour you want to use sparingly. You'll want to space them out a bit more. These colours are there to represent oxidized rust. You can go a bit heavier if you want more oxidization, but, as a base, I usually go a bit lighter. It's up to you to choose how to implement this though.
The following are pictures, each with one more of my colours added.
Now that all the colours have been applied, it's time to put that soppy, watery mess in the middle to use. Use your other sponge, and tap it into the soup. Now give it a little tap on your paper towel, and tap the nastiness on your parts. You basically want a nice layer of dirty, murky water covering your pieces. Now take a piece of dry sponge, and go over your parts gently dabbing them dry. You still want a bit of the wetness, but you don't want them sopping wet. What this does is dampen those sharp bright reds, blues and yellows.
That's what I consider my first step. The "base" rust coat.
Following this I'll add how to paint over this and get your rust thoughs.