|
|
Post by plowking on Jan 31, 2013 20:58:56 GMT -8
Incredible work Robert!! You turn a model into a real truck!!
|
|
|
|
Post by rnagle on Feb 3, 2013 9:10:06 GMT -8
Thanks! Frame is on it's "feet" now, rad in place & engine being fitted. (Thanks to Rick for the "heads-up" a few posts back about engine installation angle) 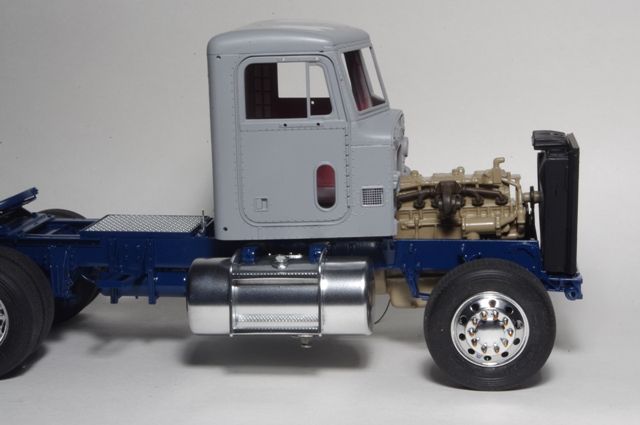 |
|
|
|
Post by rnagle on Feb 8, 2013 16:18:16 GMT -8
With mudflaps & tailights installed at least one end of truck is complete! Logos and licence plate drawn on CAD program, printed using Testors decal paper. Taillights are reworked Italeri housings with AMT lenses. 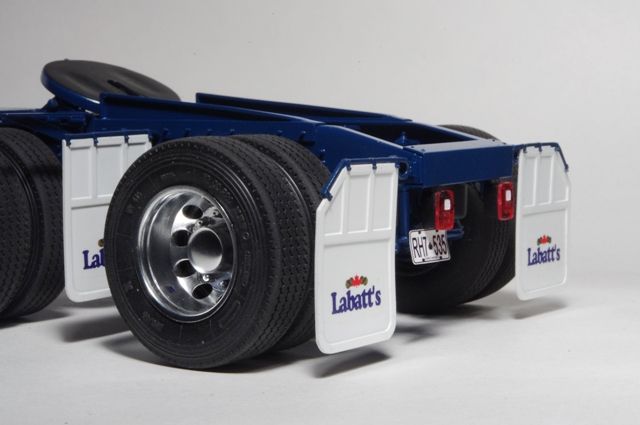 |
|
|
|
Post by gator on Feb 8, 2013 17:49:02 GMT -8
Robert,
Looking better all the time! You are getting close to gitin r done!
Be Well
Gator
|
|
|
|
Post by trailking120 on Feb 8, 2013 19:44:02 GMT -8
|
|
|
|
Post by slurrydog on Feb 9, 2013 6:51:43 GMT -8
That is a very solid build really nice.
Dave
|
|
|
|
Post by rnagle on Feb 10, 2013 11:39:03 GMT -8
Thanks guys! At other end, engine in place now. Some of the wiring, hoses etc will have to wait until cab installed before they can be fitted. 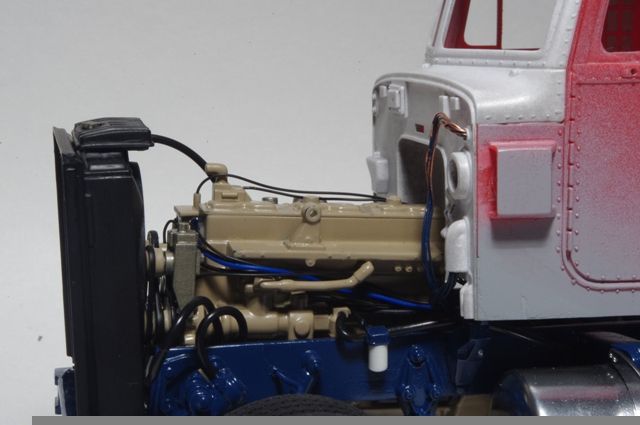 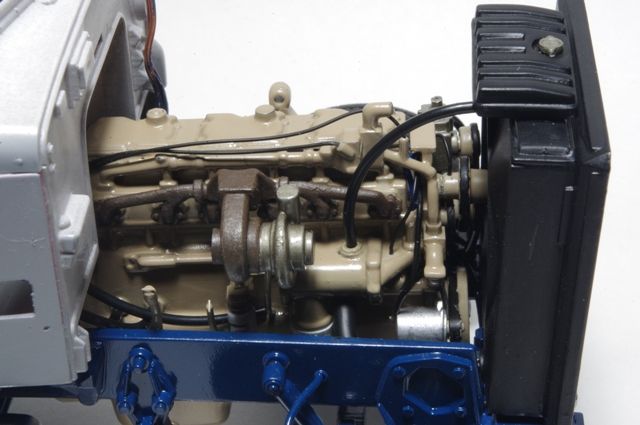 |
|
|
|
Post by rnagle on Feb 13, 2013 15:45:40 GMT -8
Representation of a/c condenser made from 1/25 "snap" KW radiator section, styrene strip & copper wire. Grille & headlights de-chromed, test fitted. 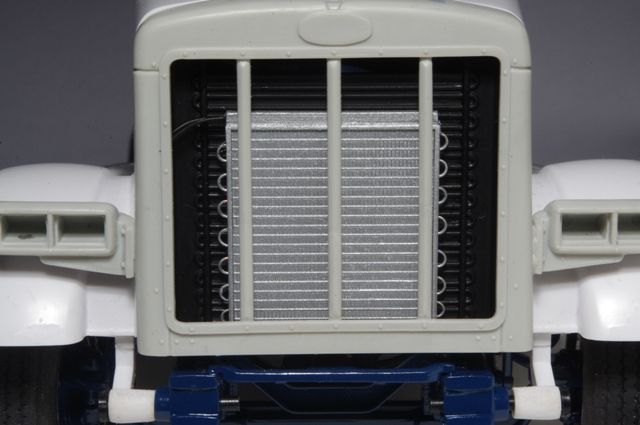 |
|
|
|
Post by gator on Feb 13, 2013 18:11:41 GMT -8
Neat idea for the condensor, and well done on the execution!
Be Well
Gator
|
|
|
|
Post by rnagle on Feb 15, 2013 18:04:39 GMT -8
Thanks gator, condenser actually wasn't difficult to put together once I realized section of radiator could be used for fins. Tonight another foray into the world of cross-eyed madness - fuel tank straps. Strips cut from .005" brass sheet, threaded portion of 00-90 screw soldered to .032" brass wire for T-shaped top attachment point. Brass strip folded over to fit wire, slotted with Dremel cutoff wheel then tinned & soldered to secure top attachment point. Once length determined .020 brass wire pin soldered to other end of strap and Bare Metal Foil applied. Threaded portion touched up with blue once installed. 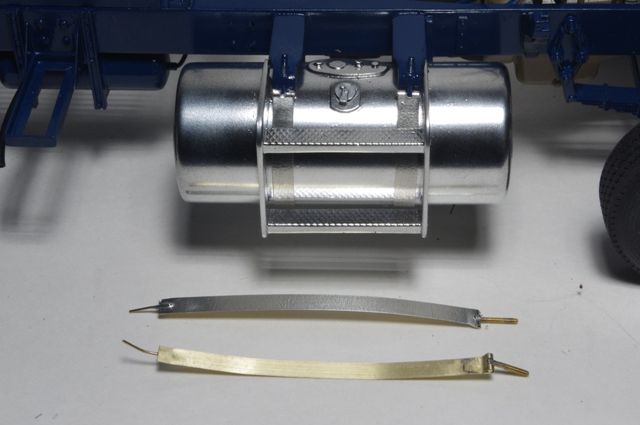 |
|
|
|
Post by ap40rocktruck on Feb 16, 2013 6:11:39 GMT -8
Rob,
Words can not describe how high you have raise the bar with this build. amazing execution on the fuel tank straps!
Ap40
|
|
|
|
Post by rnagle on Feb 16, 2013 8:16:56 GMT -8
Thanks Rick, there were a couple false starts on tank straps before I arrived at .005 brass. (Styrene wasn't practical for making the connection bracket, 1/64" brass strip was available in correct width but too thick to work with easily). Molded in detail was actually quite good, only problem was strap and fill cap location different from kit parts. Sunny day permitted some outdoor "in progress" photos, with frame & engine close to completed there is still a lot of work to do on cab, hood & interior. Going to have to make representation of shifter to go between cab & transmission - lot of daylight visible under there in side view and the real truck was not an automatic! 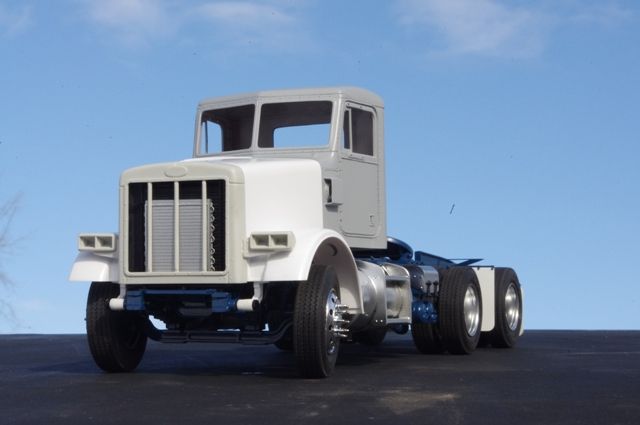 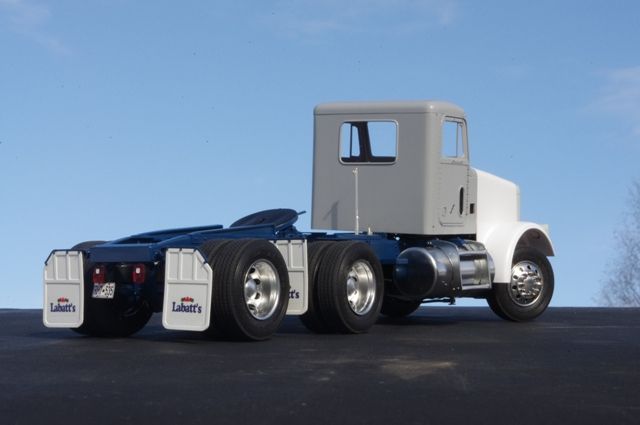 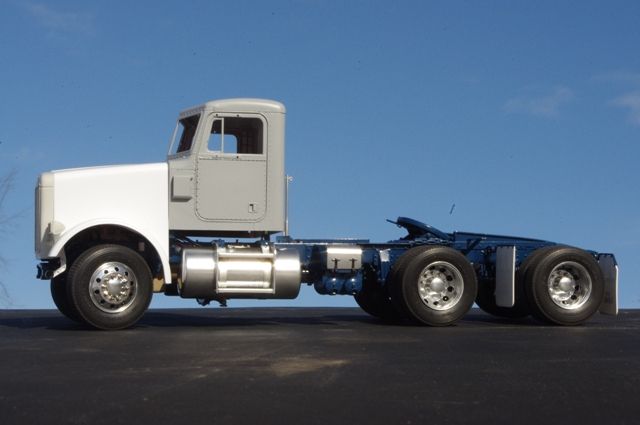 |
|
|
|
Post by trailking120 on Feb 16, 2013 8:35:22 GMT -8
 8-)The details are just amazing 
|
|
|
|
Post by ap40rocktruck on Feb 16, 2013 10:00:15 GMT -8
Nice sunny day shots! we are having sun shine here too, strange - HA.
The shifter detail will def help the space between the cab floor & frame top. The exhaust should run in the same space as well, most manufactures have switched away from the under frame exhaust routing to between the cab & frame.
Ap40
|
|
|
|
Post by slurrydog on Feb 16, 2013 21:17:34 GMT -8
That is really looking good.
Dave
|
|