|
|
Post by Tyson on May 2, 2013 8:05:50 GMT -8
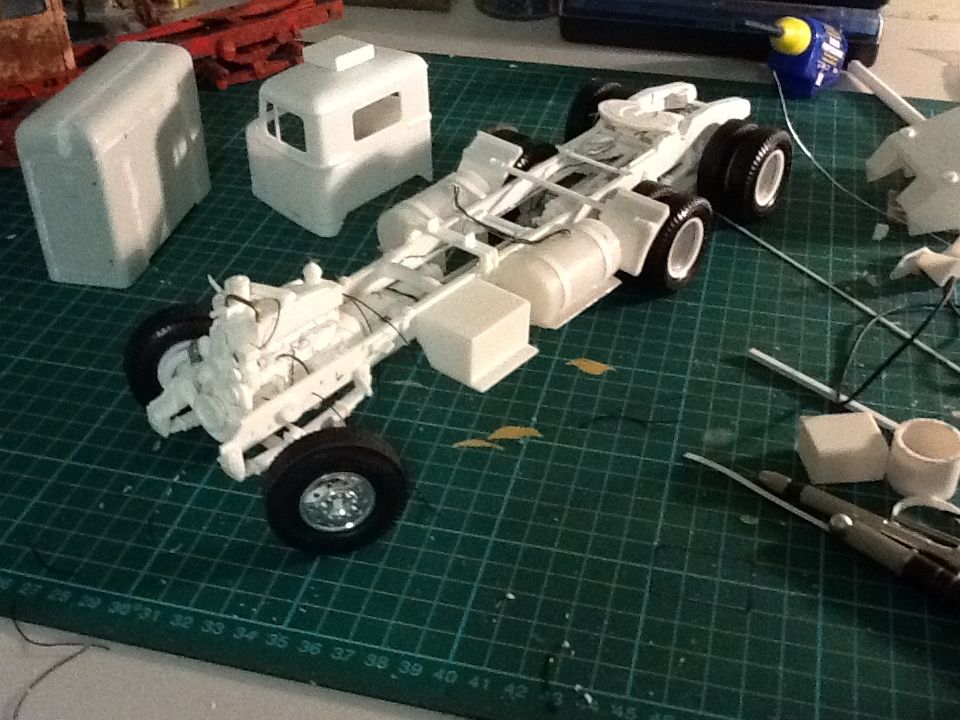
Started this a few weeks ago. Wanted to build something without being restricted by reference photos. Snapped a couple of iPad pics tonight. I'll get more when the chassis is painted. You obviously can't see it all in the pictures, but I've done a bit. Extended the frame by two scale feet. Scratch built fifth wheel ramps. Articulated and detailed the fifth wheel. Fully articulated Hendrickson rear suspension. Scratch built seventy-two inch walking beams. Scratch built, articulated drive shafts, traction bars, etc. Modified Revell wheels to fit AMT Uniroyals for the rears. Added Revell Michelins and slightly modified Revell Kenworth wheels to steers. Added articulated steering to the front axle and gave it a wider stance. Moved front suspension/axle/wheels forward. Added battery box step from AMT Road Boss kit. Added and modified fuel tanks from Revell Kenworth kit. Added sixty-four inch sleeper from Revell Peterbilt kit after cutting it down to thirty-two inches. Added cab skirting from AMT Road Boss kit. Made step toolbox by combining two AMT Autocar battery boxes. (Not pictured). Added front and rear air brake chambers from Revell Peterbilt kit. Added rear mudguard from AMT Peerless logging trailer. Detailed the Cummins 350 (Not finished). Added air and fuel lines. I want to add a lightbar to the roof, but not sure if I'm going to go for a full bar or keep the aircon unit and have lights either side.   |
|
|
|
Post by shovellogger on May 2, 2013 8:54:22 GMT -8
Very nice job so far ty
|
|
|
|
Post by gator on May 2, 2013 13:11:08 GMT -8
Tyson, Very cool truck you have started there! I like all the little changes you've made. AS for the light bar, what about mounting it on the roof of the sleeper?  ?This would make it much more visible. my two cents for the day! Be Well Gator |
|
|
|
Post by ap40rocktruck on May 2, 2013 14:18:51 GMT -8
Really sweet Ty, I agree w/ gator. up on top of the sleeper will give the best visibility with out needing a fancy extension to t a cab guard.
Ap40
|
|
|
|
Post by swamp rat on May 2, 2013 15:10:28 GMT -8
great job so far..
|
|
|
|
Post by scraperad on May 2, 2013 16:28:52 GMT -8
Looking good. Great detail
|
|
|
|
Post by trailking120 on May 2, 2013 17:01:47 GMT -8
Looking great  |
|
|
|
Post by slurrydog on May 3, 2013 20:48:03 GMT -8
Looking good.
Dave
|
|
|
|
Post by calscustoms on May 4, 2013 5:01:59 GMT -8
looking good so far
|
|
|
|
Post by Tyson on May 9, 2013 6:27:35 GMT -8
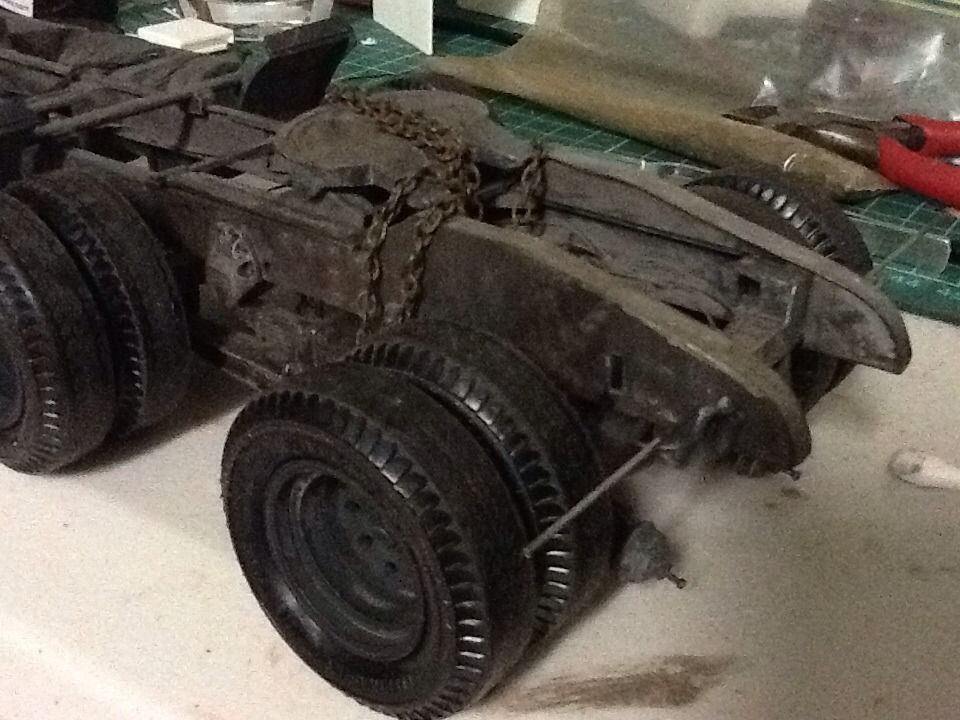
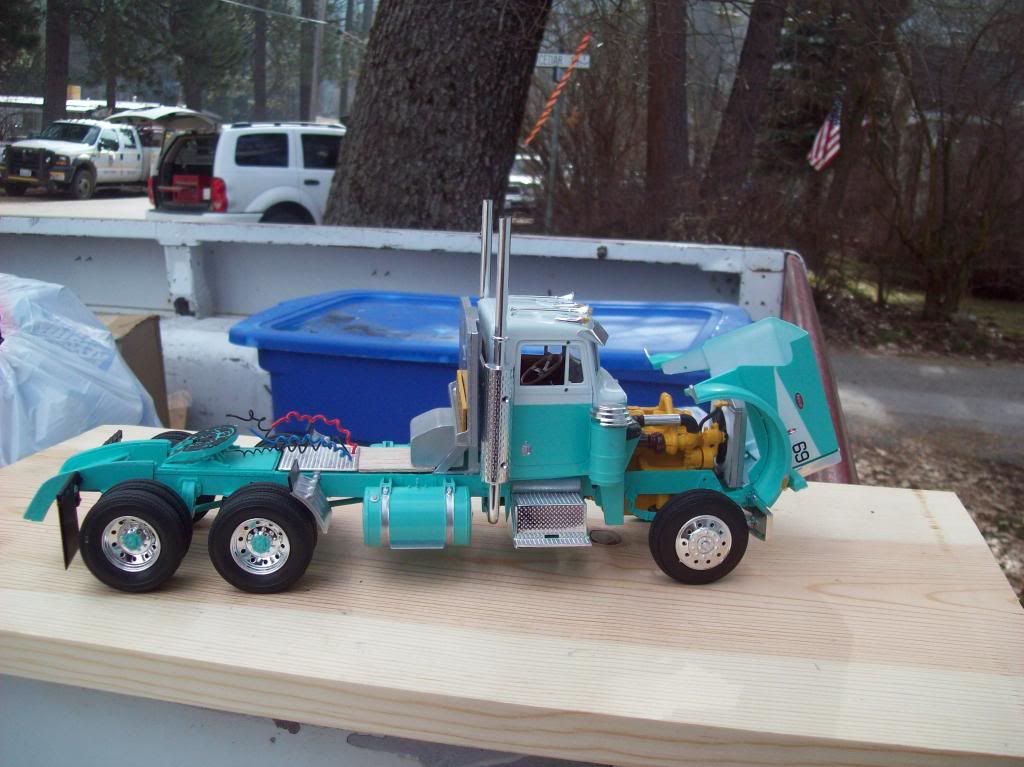
Thanks, guys. I was gonna put the lightbar on the roof of the cab to add a bit of balance to things. The sleeper is a bit taller than the cab, and it looks a little off. Just seems to me having a sleeper too much taller than the cab is a bit counter intuitive to aerodynamics, but maybe having something on the roof of the cab might at least give the illusion that it's not as big an imbalance as it seems. But if you guys think that it would look better on the sleeper I'll put it there and keep the aircon on the cab roof. I finished the building portion of the chassis. Had a few minor setbacks. The first being I royally screwed up some measurements. I measured where to mount the steps and fuel tanks so the stacks would come out between the steps and tanks right in front of the sleeper. Had everything glued down when I had the feeling something was off. Sat the cab and sleeper in their spot, and noticed I'd made my measurements for both too far back. The stacks would have come up right under the sleeper. Fixed the situation by moving the steps forward a bit. Filled the bigger gap between the tanks with a rack for a jerry can on the driver side and will hang a hook on the underside of the sleeper on the passenger side for a chain. Second mistake was due to a mind lapse. I modified the steering assembly to link up with the forward axle, but the fact that the steering assembly mounting position would interfere with the forward fenders didn't cross my mind until the glue had set. Since I had already modified it to fit the axle position properly I remedied the problem by simply giving the fenders an ever so slightly higher mounting position. Aside from those problems, I went ahead and added the shutters to my grill. Decided against the articulated shutters simply because I would probably never use them. After all of that I finally did get to slapping some paint on the frame. Got the base laid down, and started to add some detail tonight, but my heart just wasn't into it. Instead of pushing forward and being unhappy with the result I decided to just stop for tonight. Here's a tease of where I'm at. Again, sorry for the low quality iPad pic.  |
|
|
|
Post by ap40rocktruck on May 9, 2013 9:32:31 GMT -8
Nice work, looking forward to more pics. super heavy use & weather on the back end of it.
Ap40
|
|
|
|
Post by slurrydog on May 10, 2013 5:05:35 GMT -8
That is looking really nice.
Dave
|
|
spimike
RIGGER
   logger till the end
Posts: 190
|
Post by spimike on May 15, 2013 7:18:19 GMT -8
looking like a great project, I have only one piece of advice and that would be to remove the caging bolts from the brake pots, Other than that carry on your doing a great job.
|
|
|
|
Post by ap40rocktruck on May 15, 2013 8:31:06 GMT -8
looking like a great project, I have only one piece of advice and that would be to remove the caging bolts from the brake pots, Other than that carry on your doing a great job. Right on!! still do not get why RoG molded the bolts in place, sort of like saying all the Peterbilt's are always on a hook! Ap40 |
|
spimike
RIGGER
   logger till the end
Posts: 190
|
Post by spimike on May 15, 2013 20:06:41 GMT -8
Its never made sense to me either Rick, Guessing when they drew up their kits they measured off scrappers or wrecks.
|
|


 ?This would make it much more visible. my two cents for the day!


