Deleted
Deleted Member
Posts: 0
|
Post by Deleted on May 9, 2013 9:30:38 GMT -8
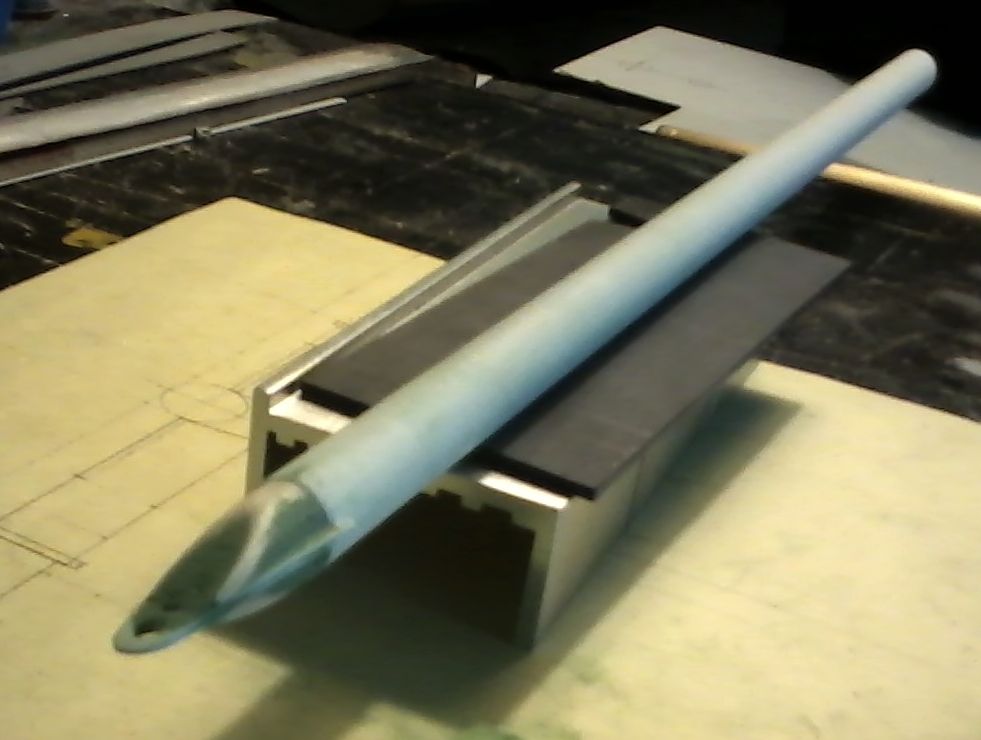
 start of the rebuild pic of the reach used half inch diameter tubing,cut the eye hole shape from .060 plastic and atatched to the tube now for th sloped cone shape |
|
Deleted
Deleted Member
Posts: 0
|
Post by Deleted on May 9, 2013 9:32:18 GMT -8
 another view of the reach hoping its correct in scale |
|
|
|
Post by ap40rocktruck on May 9, 2013 9:36:37 GMT -8
Well for a offer, it would be about right. 1/2" tube in 1/24 scale = a 12" diameter pipe. So like William stated, offy's would run 12" or 14" tube for the reach.
You might want to beef up the triangle area for the hitch on the tend of your tube. In the bottom photo, there is nothing adding strength above or below the horizontal plane.
AP40
|
|
Deleted
Deleted Member
Posts: 0
|
Post by Deleted on May 9, 2013 10:13:48 GMT -8
i am stuck on how to go about making the cone shape support top and bottom any ideas i could use them.
|
|
|
|
Post by ap40rocktruck on May 9, 2013 10:23:49 GMT -8
i am stuck on how to go about making the cone shape support top and bottom any ideas i could use them. putty & a file............................. ap |
|
Deleted
Deleted Member
Posts: 0
|
Post by Deleted on May 9, 2013 11:04:13 GMT -8
ok i will try that i have plenty of putty emery boards files sand paper thanks ap40.
|
|
Deleted
Deleted Member
Posts: 0
|
Post by Deleted on May 9, 2013 12:17:00 GMT -8
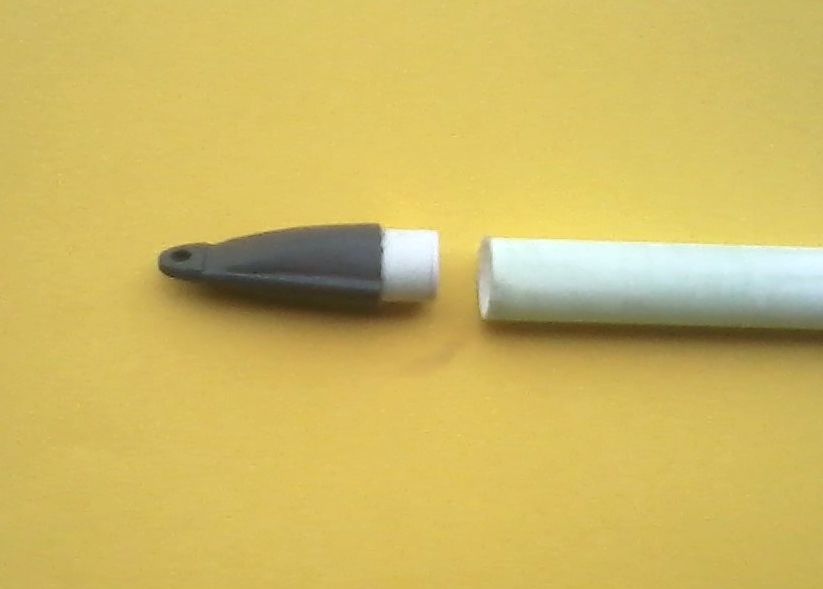
 did som experimenting this is the result so far needs mor work though |
|
Deleted
Deleted Member
Posts: 0
|
Post by Deleted on May 9, 2013 12:18:06 GMT -8
 side view |
|
Deleted
Deleted Member
Posts: 0
|
Post by Deleted on May 9, 2013 12:36:14 GMT -8
 a nicer view of the reach in progress thanks for th tips ap40 its working out better than i thought take my time no rush |
|
|
|
Post by gator on May 9, 2013 15:45:19 GMT -8
The moled end on the reach looks really good! Nice progress here.
Be Well
Gator
|
|
Deleted
Deleted Member
Posts: 0
|
Post by Deleted on May 9, 2013 23:25:33 GMT -8
thanks Gator this is how i should have built it the first time i rushed on the original model build this time going to pay attention to the tips i get to build it correct.
|
|
Deleted
Deleted Member
Posts: 0
|
Post by Deleted on May 10, 2013 6:28:43 GMT -8
 a little more sanding of the filler primer fine tune it be one finished part of many i'm considering molding and casting it. |
|
Deleted
Deleted Member
Posts: 0
|
Post by Deleted on May 14, 2013 11:13:26 GMT -8
The log jinker is coming along nicely its a off highway one kind of generic but looks good so far i will have pics soon when i have more completed its part of the rebuild the more i look at it it could go with other heavy log trucks well back to working on it.
|
|
Deleted
Deleted Member
Posts: 0
|
Post by Deleted on May 17, 2013 11:28:59 GMT -8
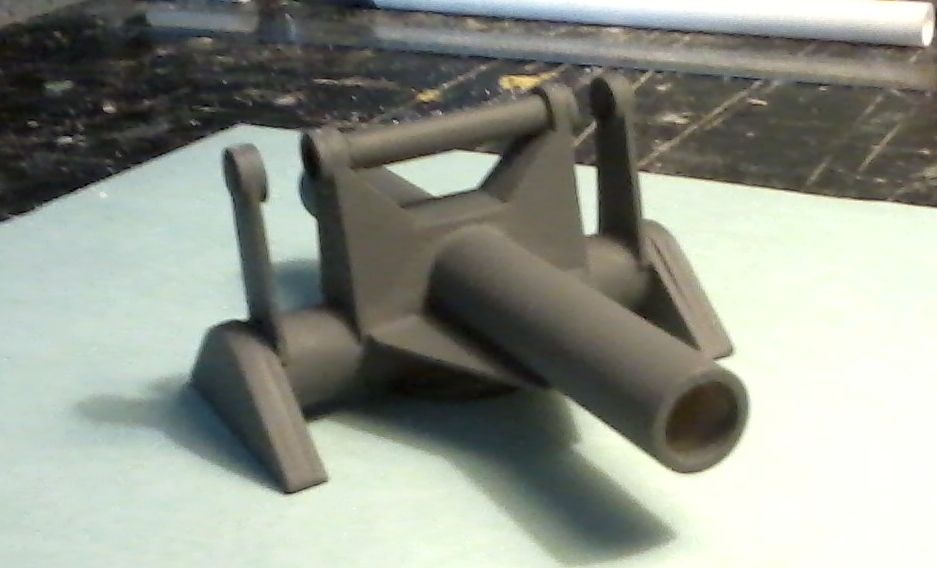 main part of the log jinker painted with filler primer so i can see where i need to sand and fill in with putty |
|
Deleted
Deleted Member
Posts: 0
|
Post by Deleted on May 17, 2013 11:31:32 GMT -8
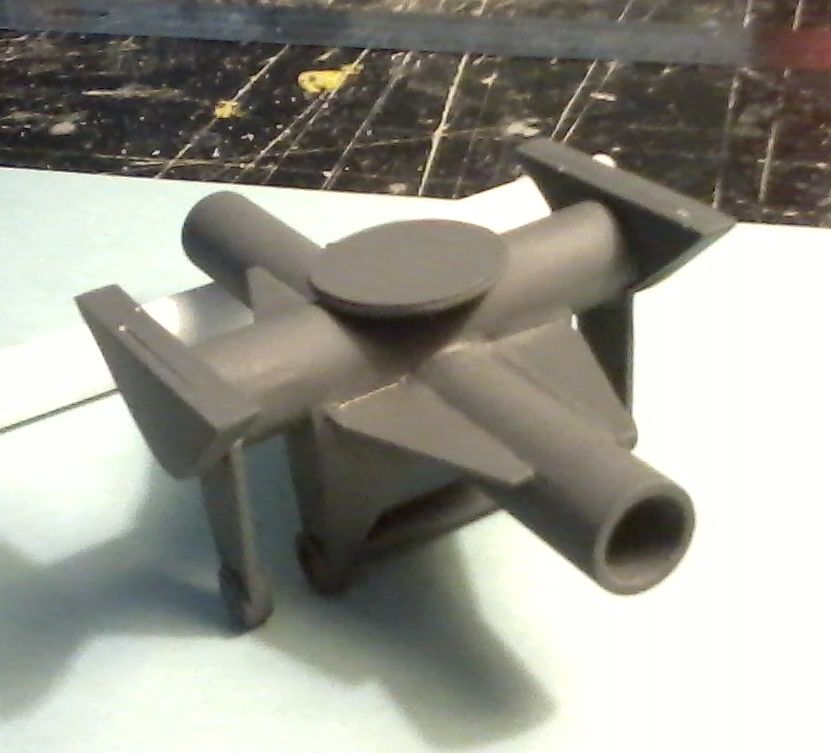 another view of the rebuild |
|


