Post by Muleskinner on May 31, 2012 12:09:56 GMT -8
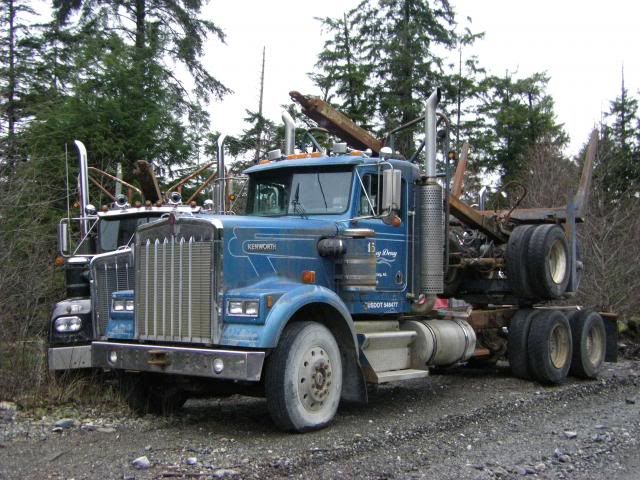
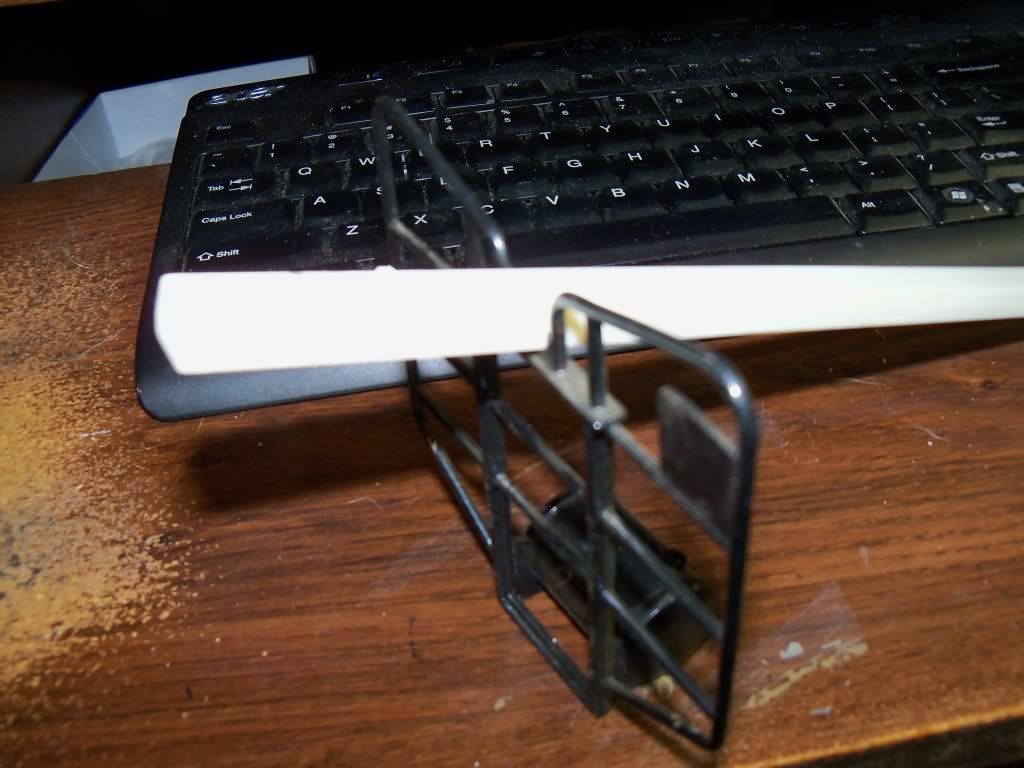
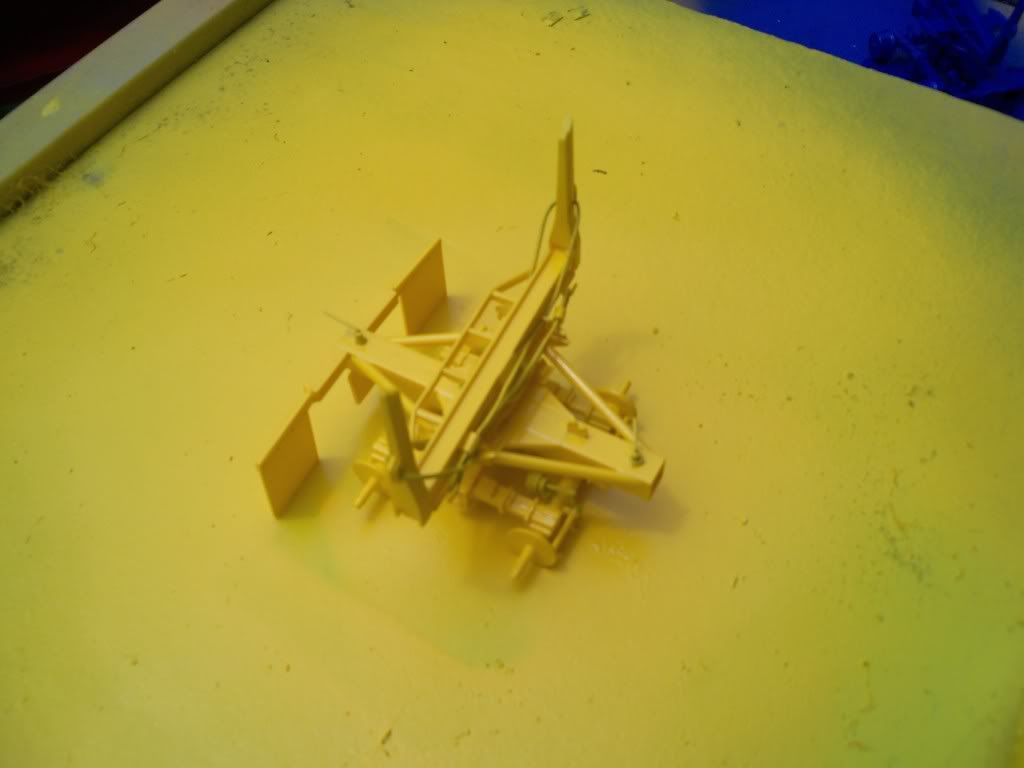
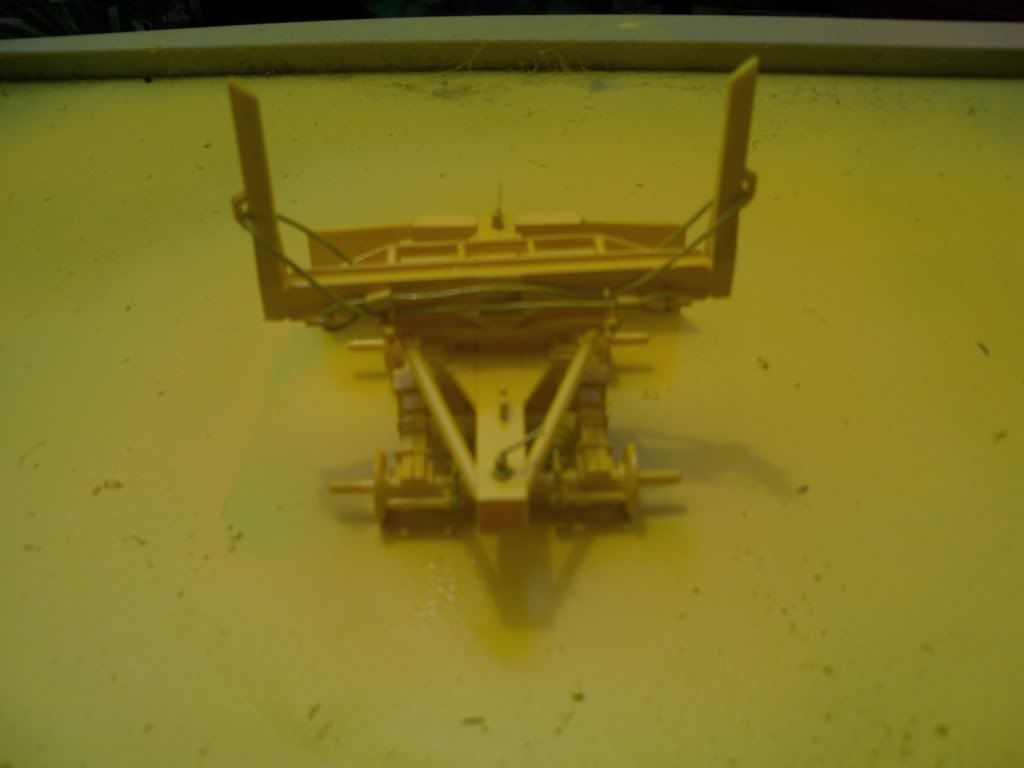
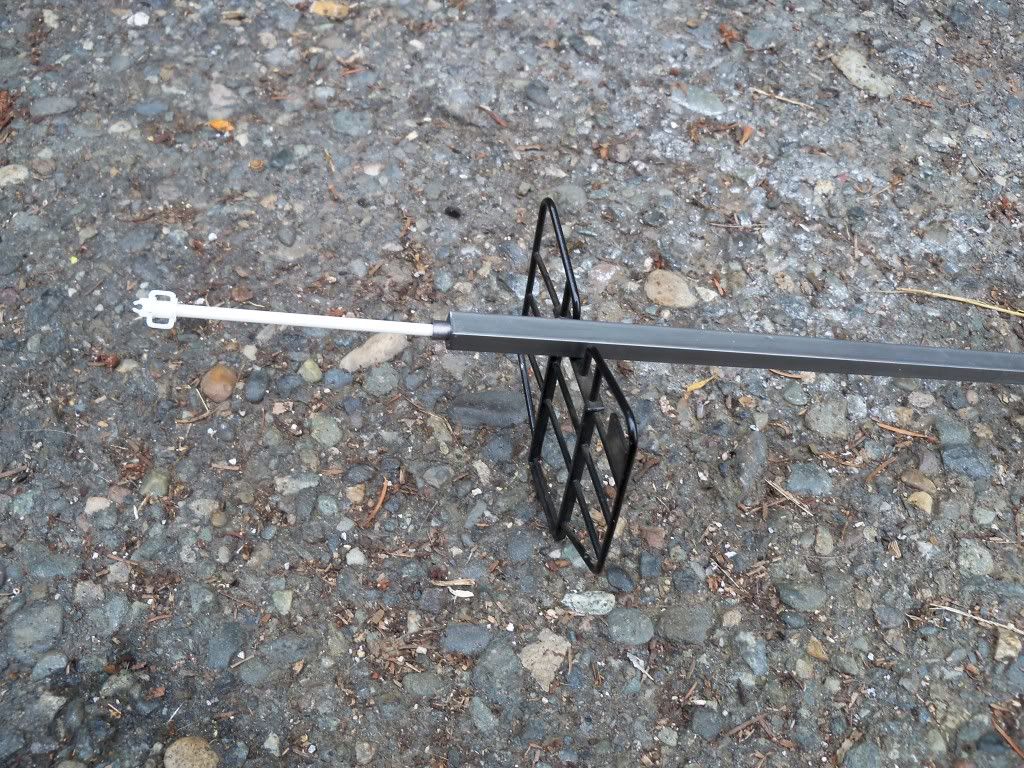
I've been asked about this many time and it has appeared on the board more than once. So here is my answer and also a way which you can correct it. The reach on the AMT logging trailer is way too small for what it represents. When this model first came out there were a lot of questions about who designed it and off of what, which AMT would never give an answer to. If you scale the AMT down to 1/25th it comes out 4"x6" or the size of a 4x6 stud of lumber. It is way too small for the cradle at the top of the headache rack where it sits when the trailer is in Carry position on the main rig. (See picture Below).
As you can see from the photo of a 1:1 the reach which is in the cradle fills it from side to side.
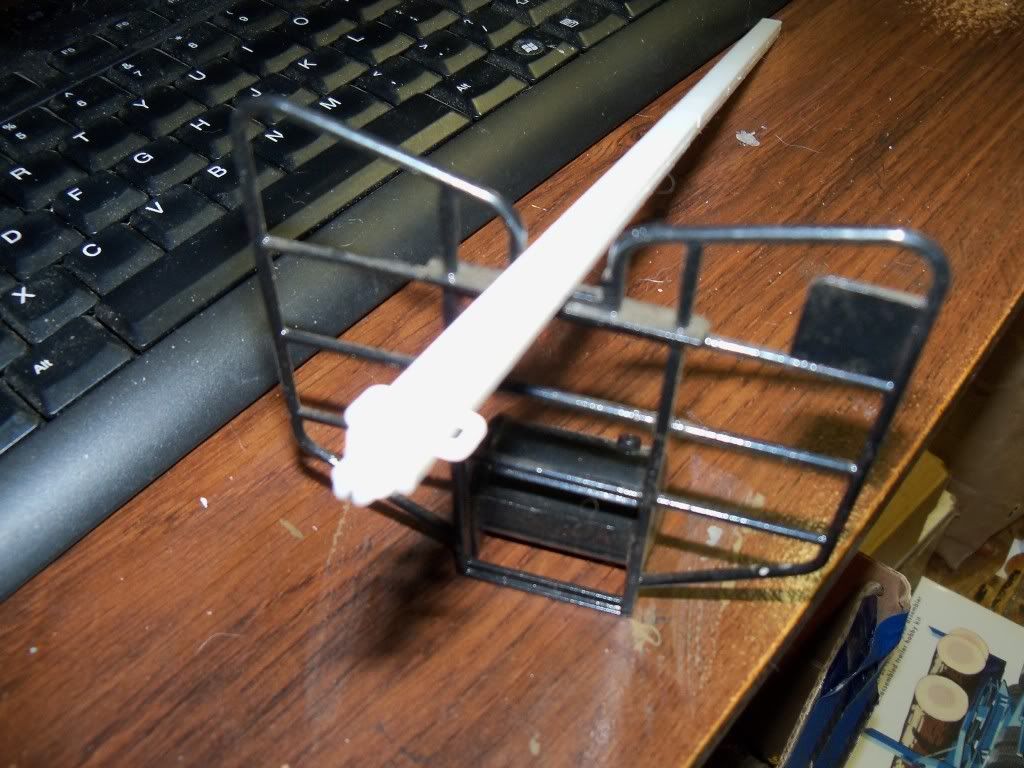
This photo shows the AMT plastic Reach in the cradle of the AMT headache rack. Notice the space to the side at the depth which it sits in the cradle.
For comparison this photo shows the older ERTL reach from the Paystar 5000 Logging Truck kit. It matches the 1:1 in appearance 100 percent, if not close.
The only problem is the ERTL trailer was only available in the kit and has not been reissued since discontinuance. If you do find the kit you had better be ready to pay an arm and a leg for it! So the only real alternative is to take what we have the AMT trailer and bring it up to believability by re doing the reach and Tunnel assembly.
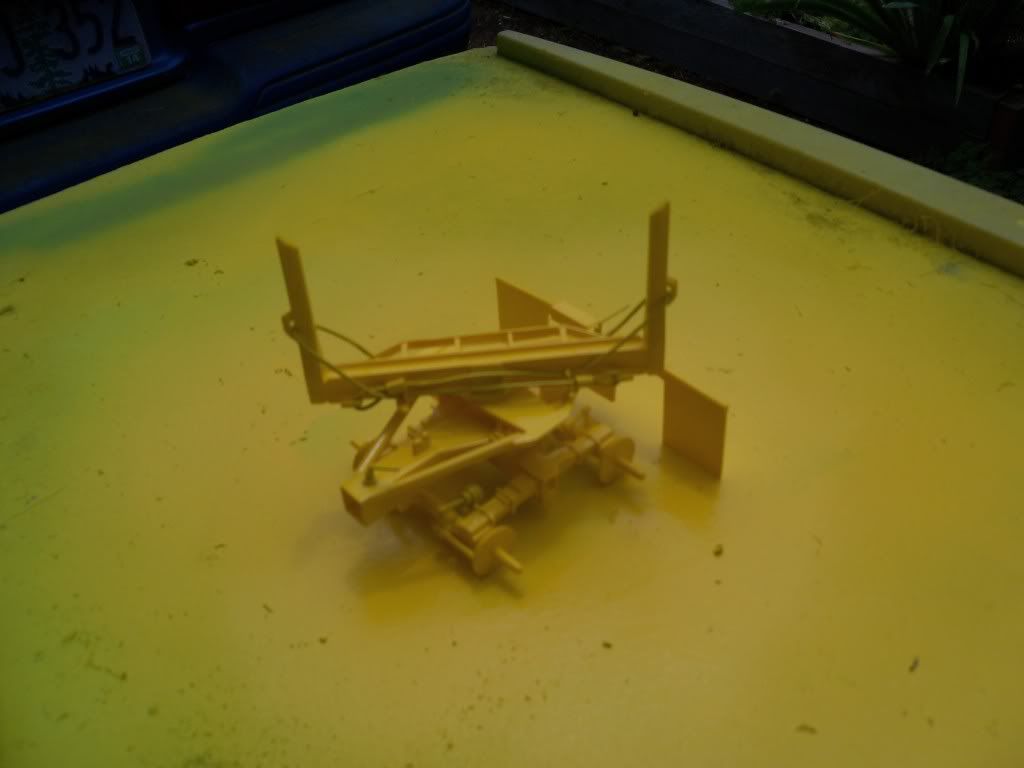
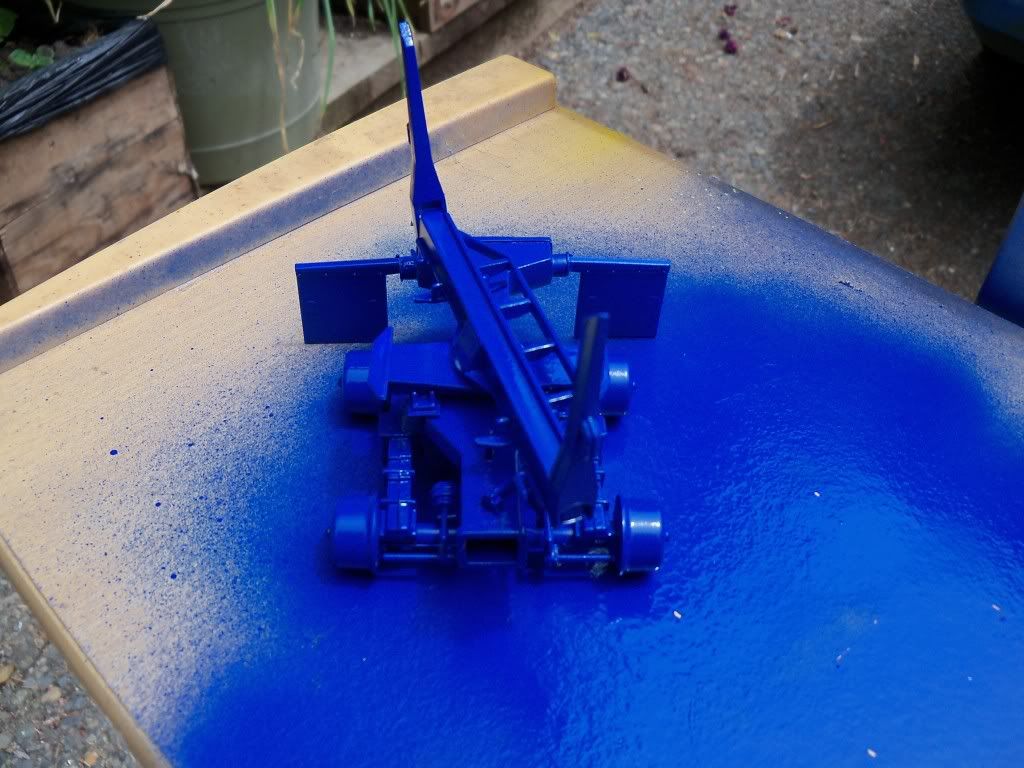
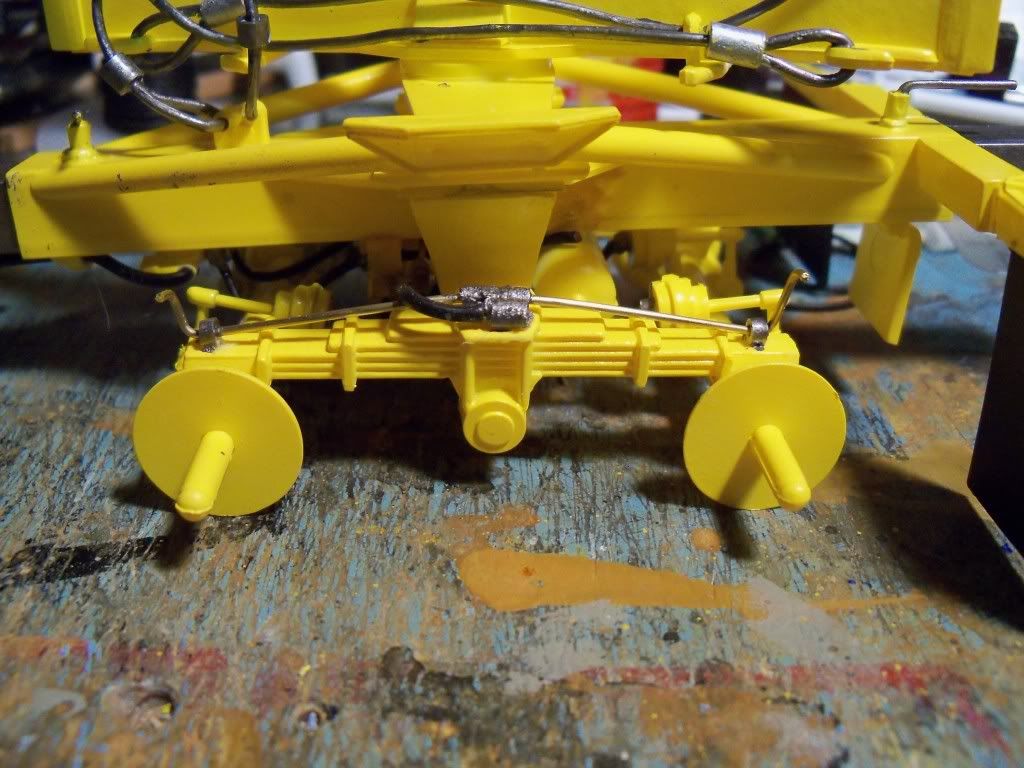
The ERTL Trailer and the Amt unit differ in many ways but are still both Peerless trailers, the main difference being the Amt is the older of the two with spring mount suspension compared to the ERTL which has the never floating beam suspension. The mounting of the axle differ also and the main body of the trailer also differs.(See Below)
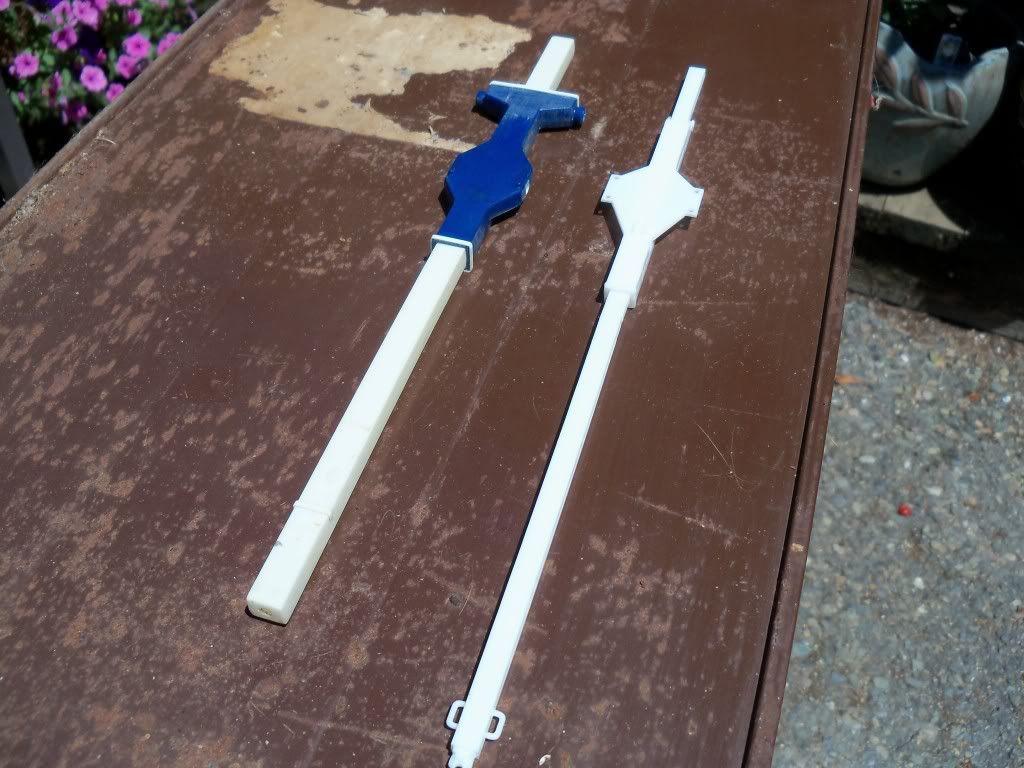
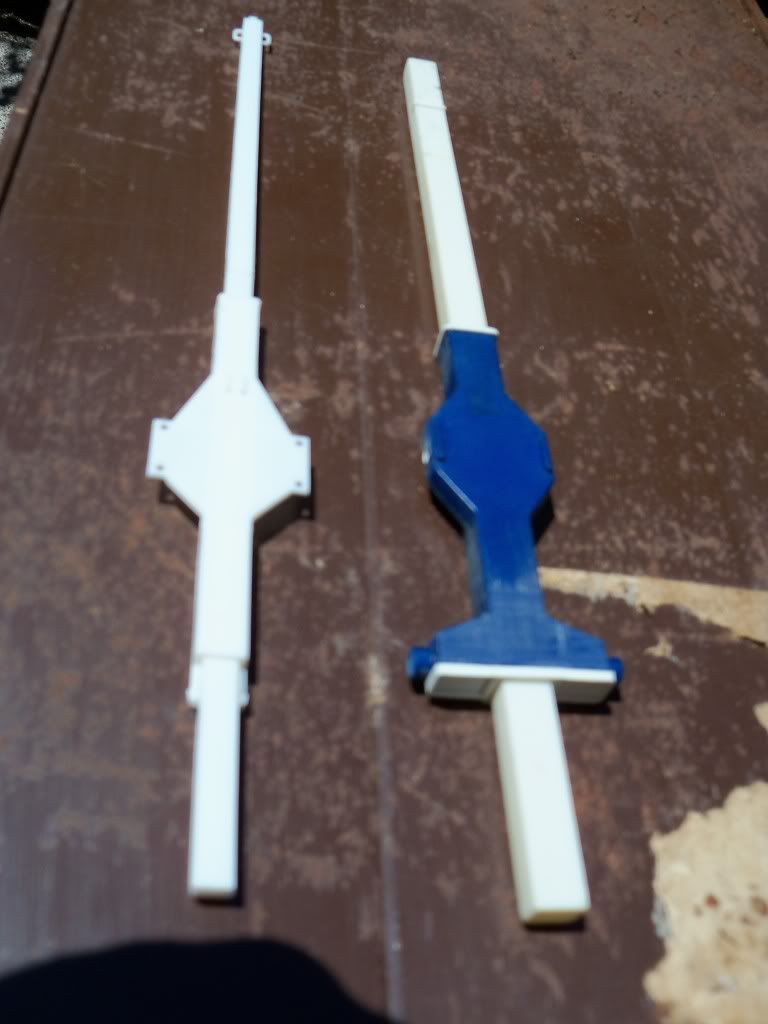
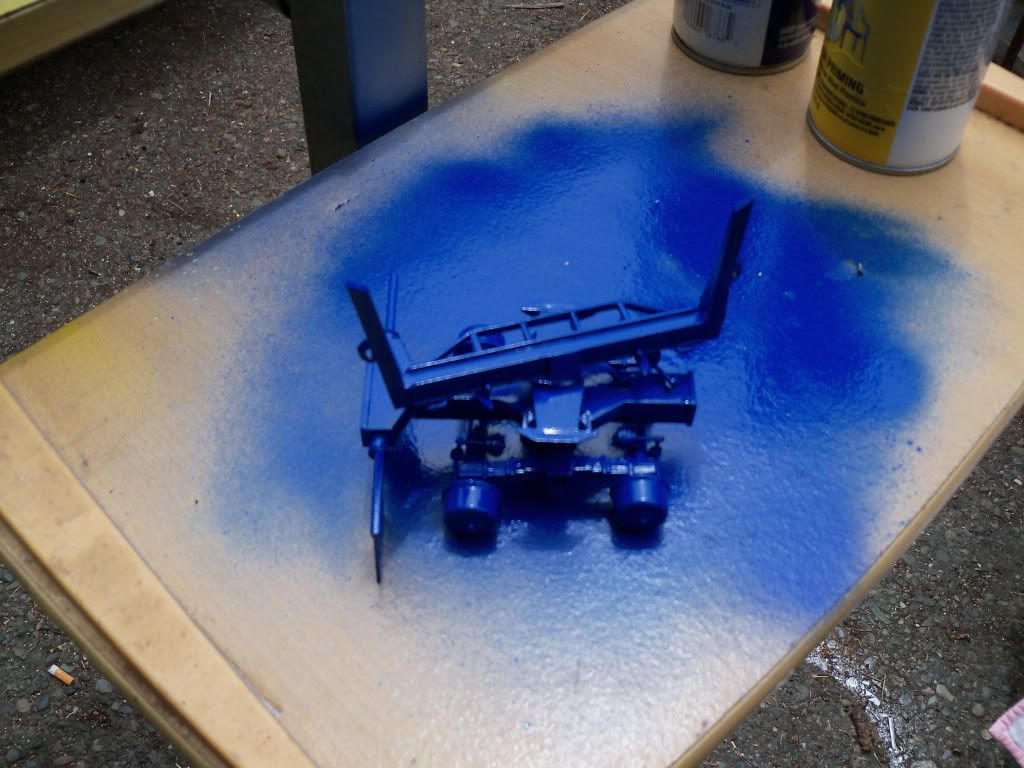
In the photos the Blue unit is the ERTL unit and the White the AMT unit. Here you can see the difference in the trailers which clearly shows the Amt unit as being smaller than 1/25th scale. The ERTL scales out 1/25th where as the AMT scales out to close to 1/26. Smaller than it should be.
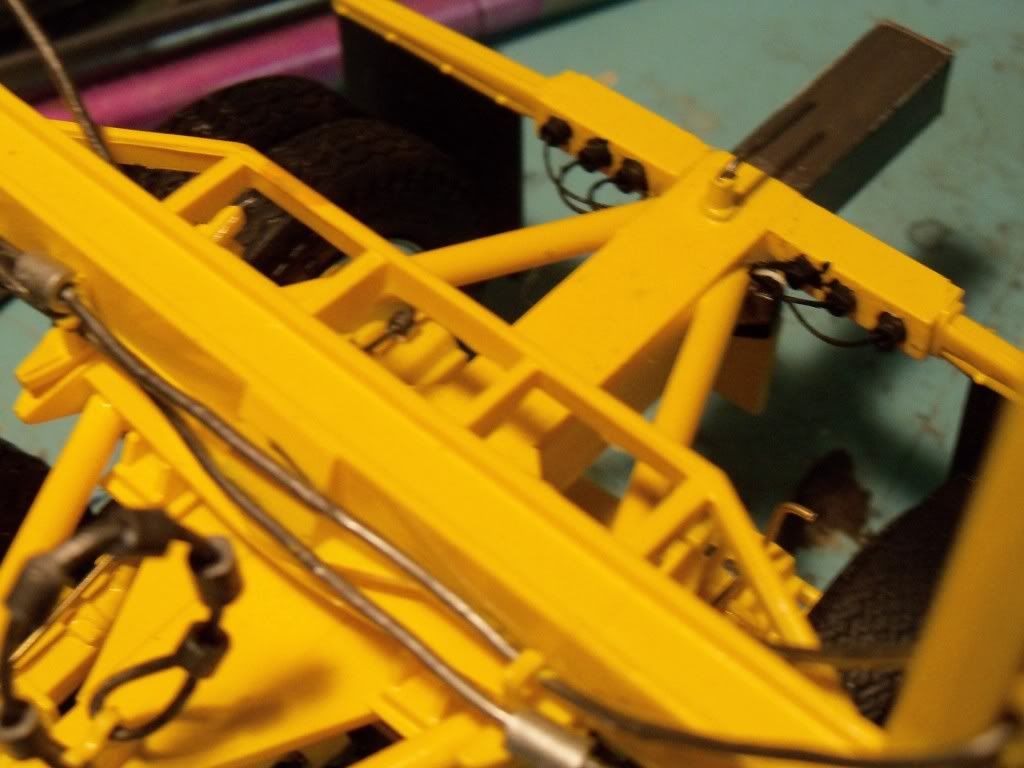
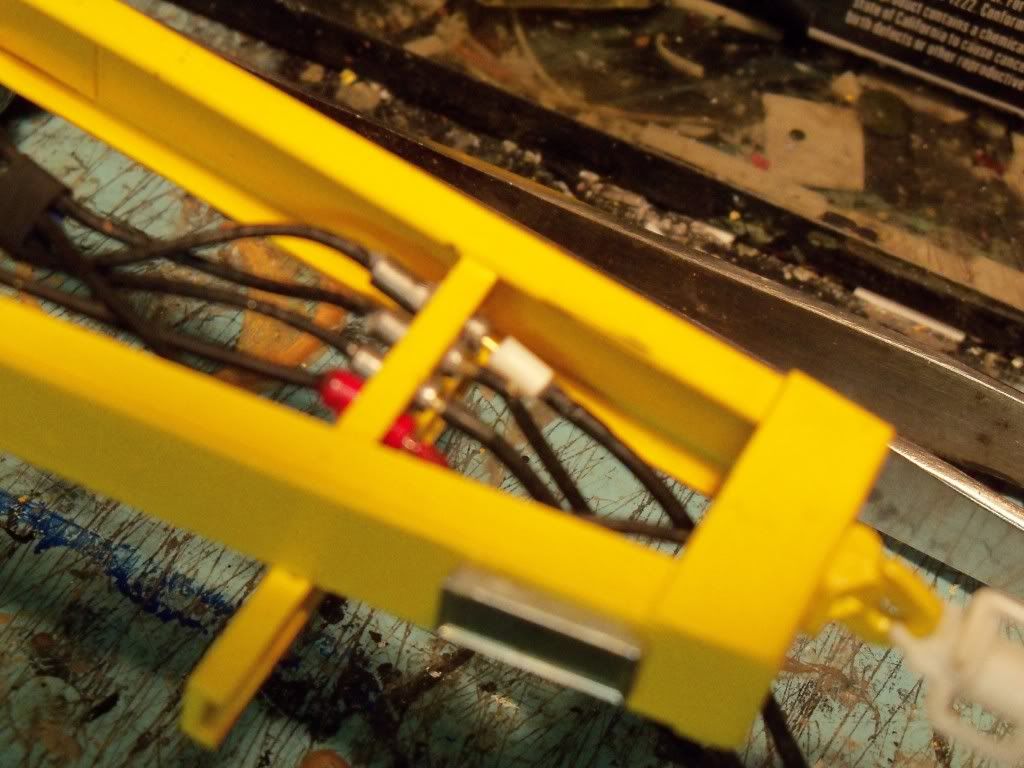
In this end shot you can also see where the AMT reach tunnel is way to small by comparison to the ERTL unit in blue. The reach diameter of the Amt measures 4"x 6" where as the ERTL Measures 9" x 8" putting it closer to scale. To correct this the tunnel has to be brought up to a larger size within tolerance of correct. To accomplish this you will need pieces of Evergreen Square tubing, #s 255 for the reach assembly and # 256 for the new tunnel assembly.
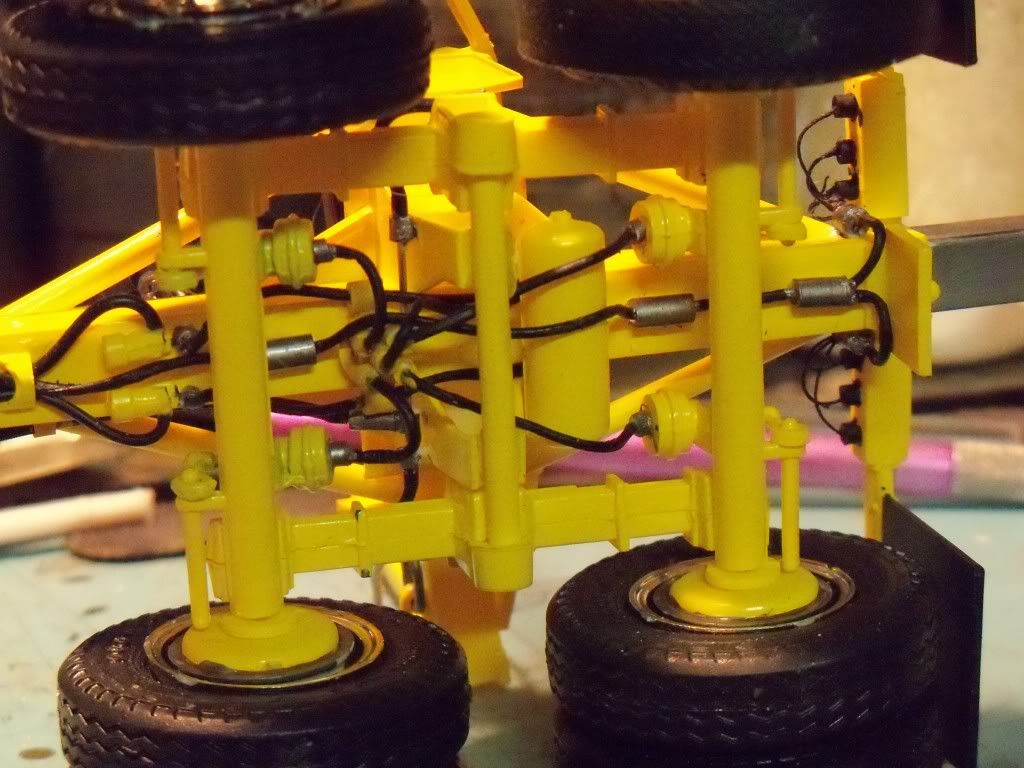
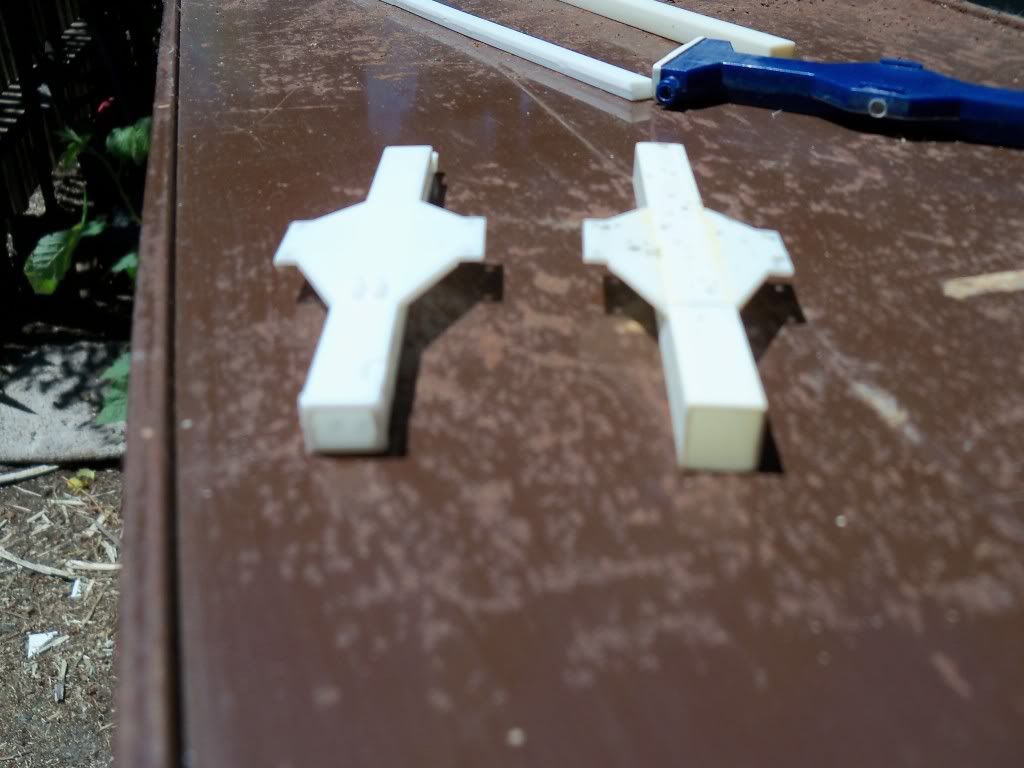
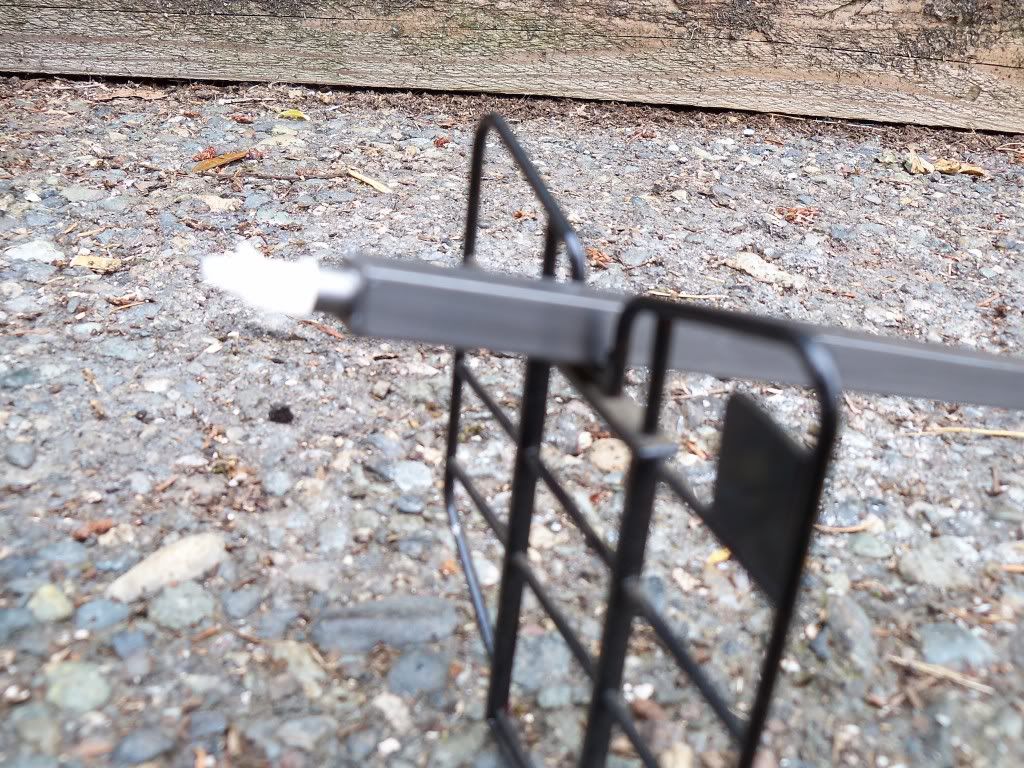
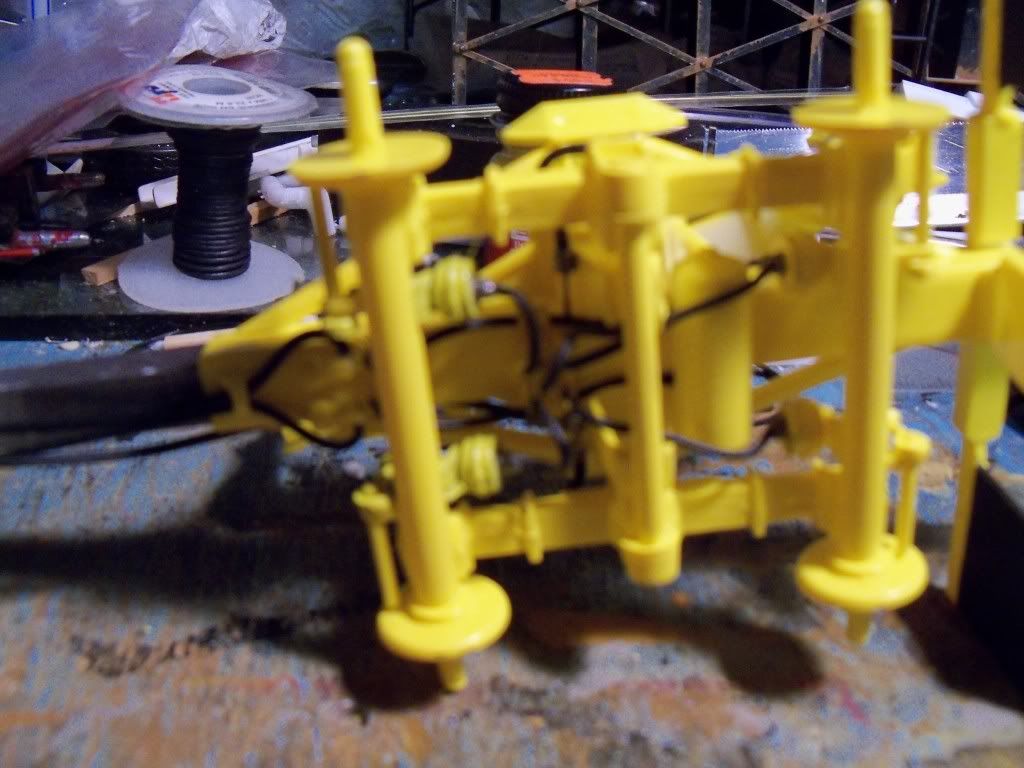
For the tunnel assembly cut a piece of #256 at eight scale feet in length. and set it aside for now. Take the top of the AMT Tunnel which has the Bunk mounting ears on it and remove the ears flush with the main piece. (see photo below)
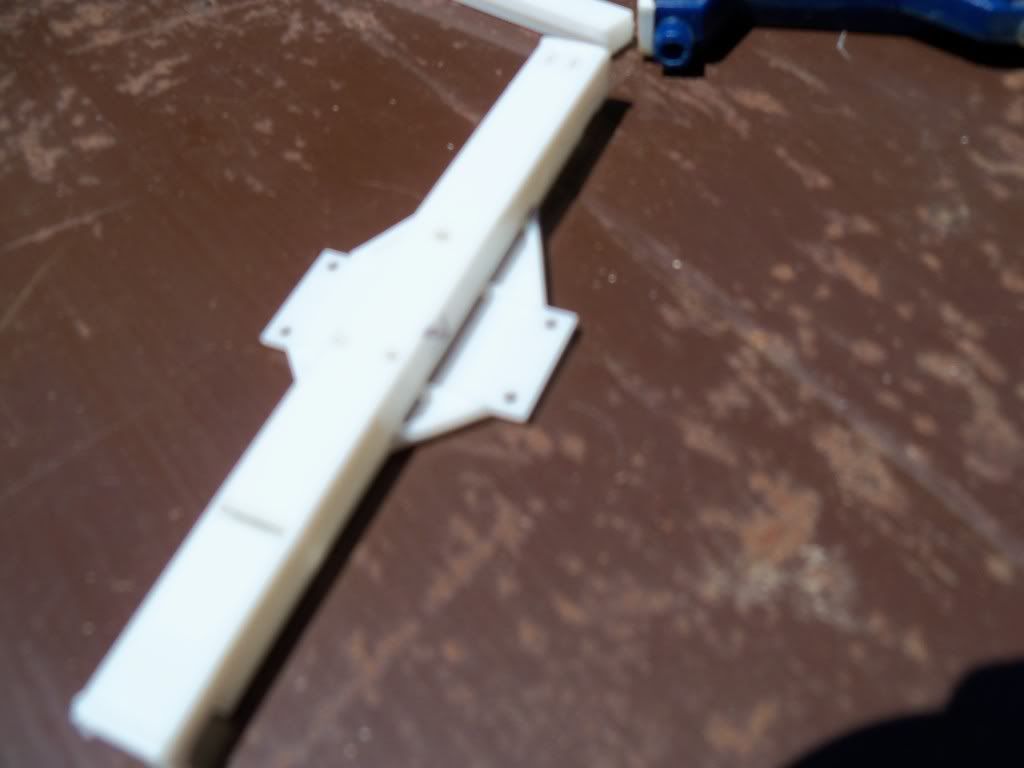
Though the pic is a little fussy you can see the dark line which I drew along the tunnel body where the ears should be removed. Once they are removed take the 8' piece of tubing measure back from the front of the tubing about 2 scale feet and draw a line across the tube top. use this line as a spacer when attaching the ears. when attaching the ears make sure the longest end goes forward. (See Below)
Once this is done set it aside to dry and cut the new reach which can be at any length depending on the job specifications. I will normally cut mine to the length of the ERTL reach which measure a scale 25.5' . Some pole units are known to go up to 65 feet and more. It depends on your build preference. Once the reach is cut, I wrap mine in fine sand paper and give it a light sanding along the corners to make sure it will go down through the reach tunnel without any hang ups. Even though Evergreen specifies that the tubing is telescoping, it still has its hang ups. (see Below)
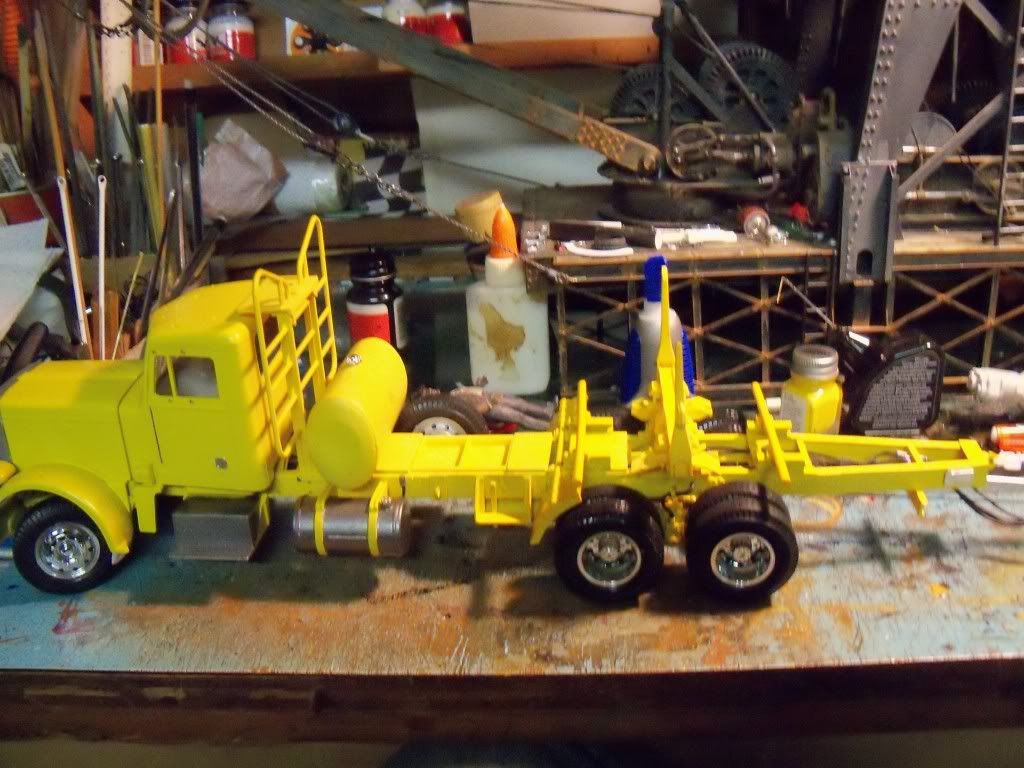
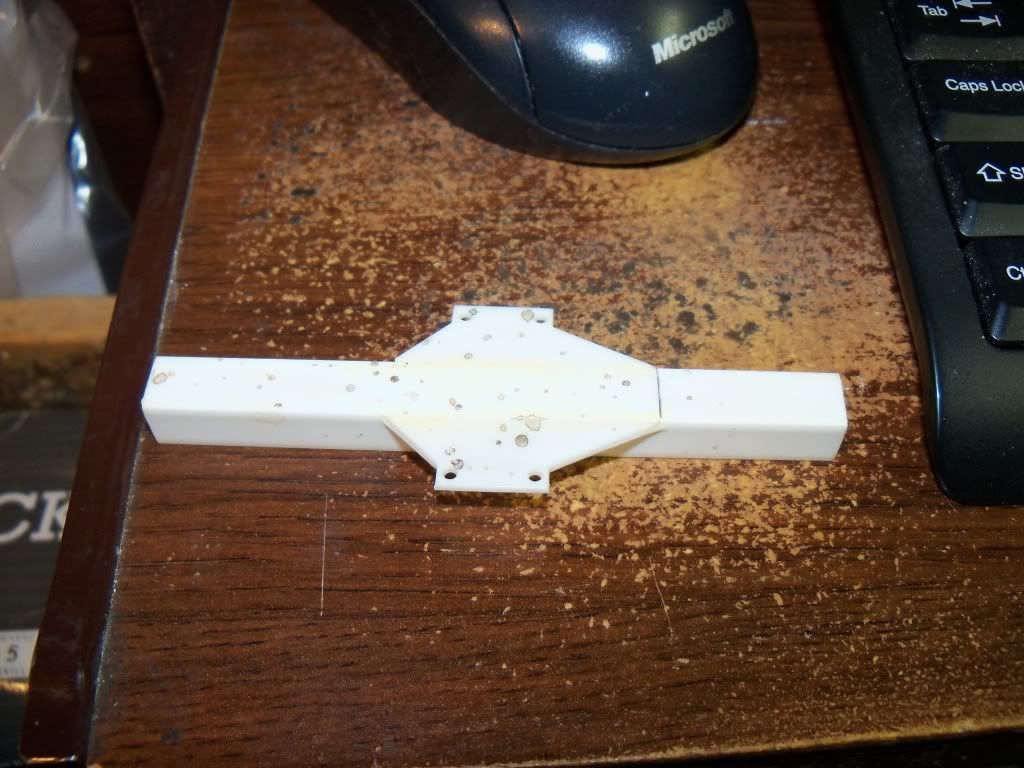
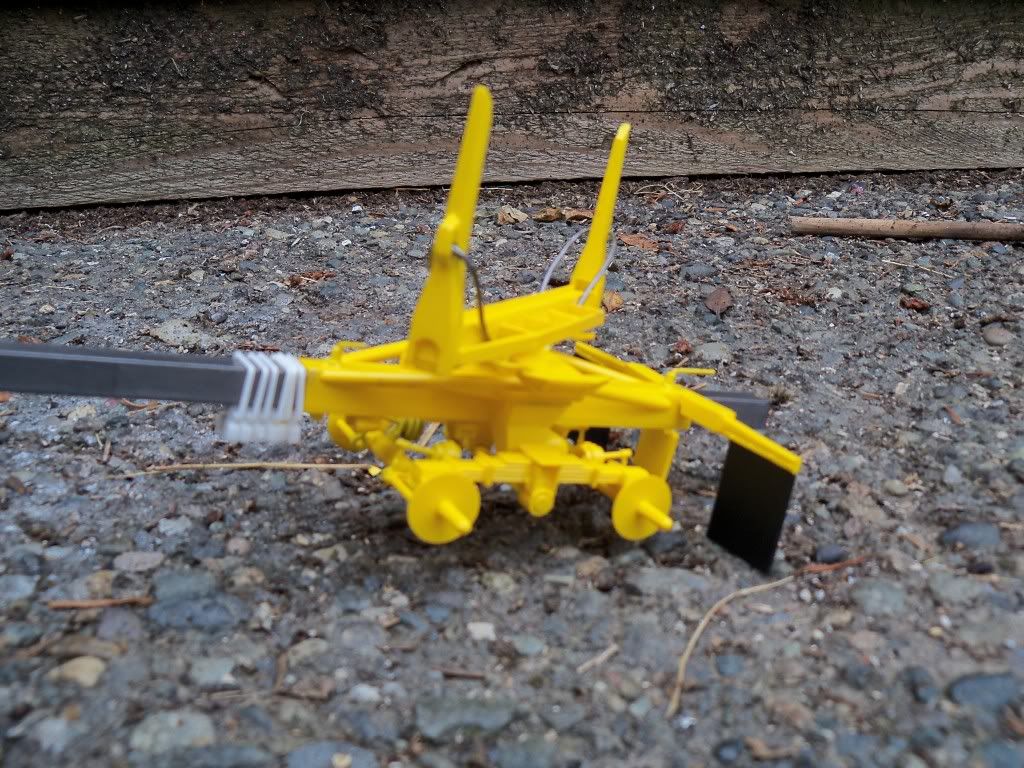
This photo shows the new tunnel assembly (right) ready for the new reach, as compared to the older AMT unit on the left. Once the reach is installed the rest of the Trailer can be assembled as per the instruction in the kit.
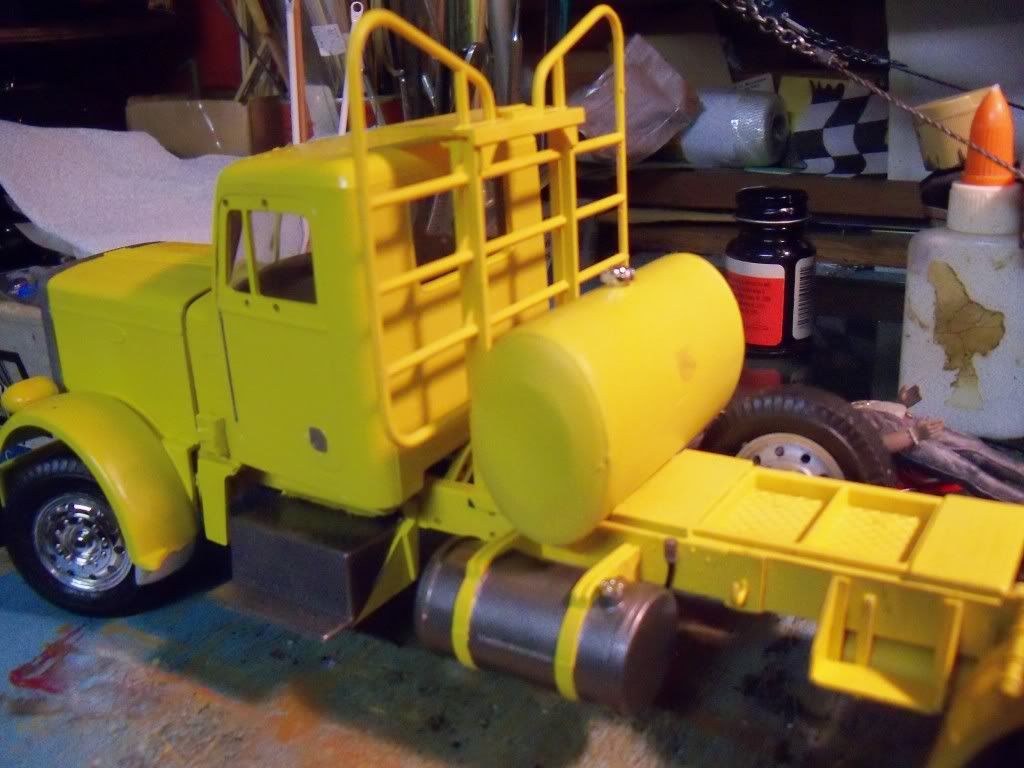
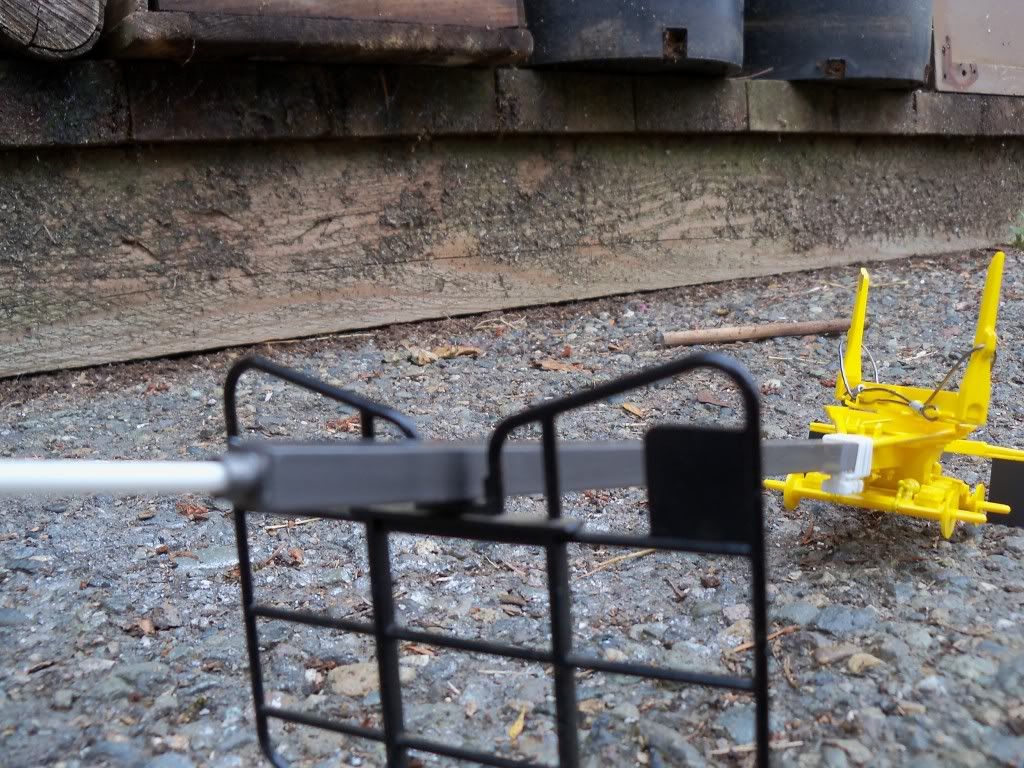
The ends of the reach should be closed off using some scrap evergreen sheet. If you want to use the AMT coupling system remove the whole unit from the end of the reach and attach it to the end of the new reach, so the trailer will snap onto the Pintal which is supplied for the truck in the kit. One thing I want to say here also is that the two grab handles at the side of the reach by the coupler should be made larger as shown on the Schaffer rig with an unusually long reach for this area where I live. (See below)
Another thing which I should mention here is that the coupler ring is actually attached to a long compensator tube which runs down inside the reach at various lengths which is pinned when in the carry position and unpinned when the rig is being loaded for haul.
As you can see from the photo of a 1:1 the reach which is in the cradle fills it from side to side.
This photo shows the AMT plastic Reach in the cradle of the AMT headache rack. Notice the space to the side at the depth which it sits in the cradle.
For comparison this photo shows the older ERTL reach from the Paystar 5000 Logging Truck kit. It matches the 1:1 in appearance 100 percent, if not close.
The only problem is the ERTL trailer was only available in the kit and has not been reissued since discontinuance. If you do find the kit you had better be ready to pay an arm and a leg for it! So the only real alternative is to take what we have the AMT trailer and bring it up to believability by re doing the reach and Tunnel assembly.
The ERTL Trailer and the Amt unit differ in many ways but are still both Peerless trailers, the main difference being the Amt is the older of the two with spring mount suspension compared to the ERTL which has the never floating beam suspension. The mounting of the axle differ also and the main body of the trailer also differs.(See Below)
In the photos the Blue unit is the ERTL unit and the White the AMT unit. Here you can see the difference in the trailers which clearly shows the Amt unit as being smaller than 1/25th scale. The ERTL scales out 1/25th where as the AMT scales out to close to 1/26. Smaller than it should be.
In this end shot you can also see where the AMT reach tunnel is way to small by comparison to the ERTL unit in blue. The reach diameter of the Amt measures 4"x 6" where as the ERTL Measures 9" x 8" putting it closer to scale. To correct this the tunnel has to be brought up to a larger size within tolerance of correct. To accomplish this you will need pieces of Evergreen Square tubing, #s 255 for the reach assembly and # 256 for the new tunnel assembly.
For the tunnel assembly cut a piece of #256 at eight scale feet in length. and set it aside for now. Take the top of the AMT Tunnel which has the Bunk mounting ears on it and remove the ears flush with the main piece. (see photo below)
Though the pic is a little fussy you can see the dark line which I drew along the tunnel body where the ears should be removed. Once they are removed take the 8' piece of tubing measure back from the front of the tubing about 2 scale feet and draw a line across the tube top. use this line as a spacer when attaching the ears. when attaching the ears make sure the longest end goes forward. (See Below)
Once this is done set it aside to dry and cut the new reach which can be at any length depending on the job specifications. I will normally cut mine to the length of the ERTL reach which measure a scale 25.5' . Some pole units are known to go up to 65 feet and more. It depends on your build preference. Once the reach is cut, I wrap mine in fine sand paper and give it a light sanding along the corners to make sure it will go down through the reach tunnel without any hang ups. Even though Evergreen specifies that the tubing is telescoping, it still has its hang ups. (see Below)
This photo shows the new tunnel assembly (right) ready for the new reach, as compared to the older AMT unit on the left. Once the reach is installed the rest of the Trailer can be assembled as per the instruction in the kit.
The ends of the reach should be closed off using some scrap evergreen sheet. If you want to use the AMT coupling system remove the whole unit from the end of the reach and attach it to the end of the new reach, so the trailer will snap onto the Pintal which is supplied for the truck in the kit. One thing I want to say here also is that the two grab handles at the side of the reach by the coupler should be made larger as shown on the Schaffer rig with an unusually long reach for this area where I live. (See below)
Another thing which I should mention here is that the coupler ring is actually attached to a long compensator tube which runs down inside the reach at various lengths which is pinned when in the carry position and unpinned when the rig is being loaded for haul.


 It's gonna help me with the WesternStar trailer soon
  Please keep coming up with detailed pics