|
|
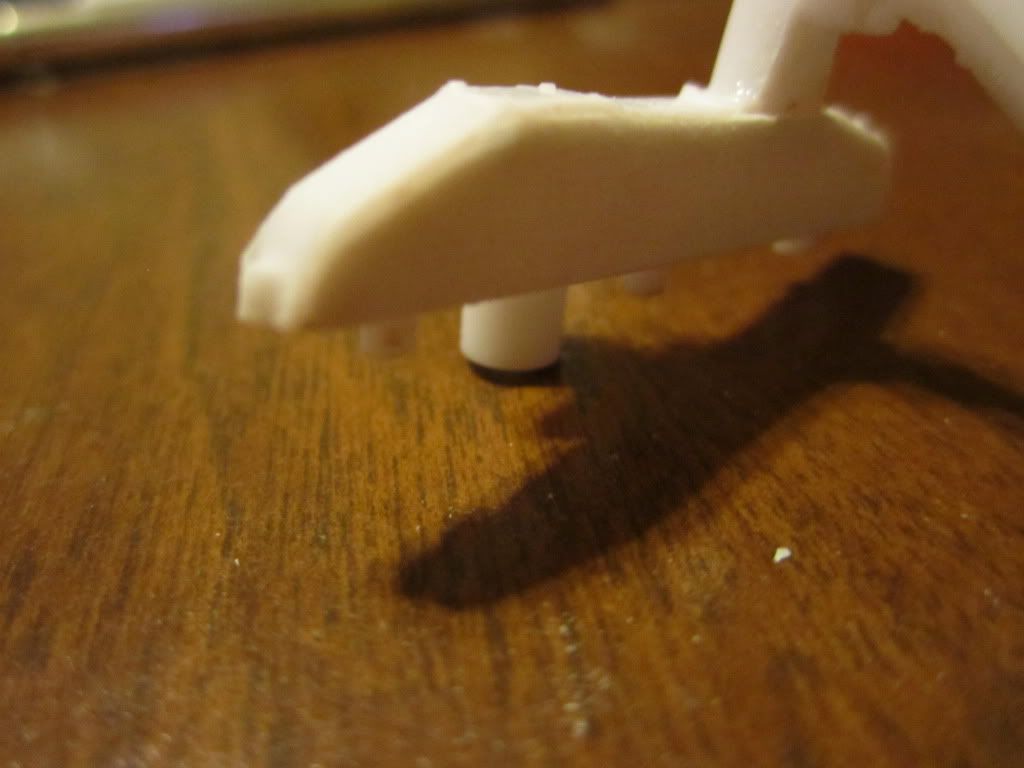
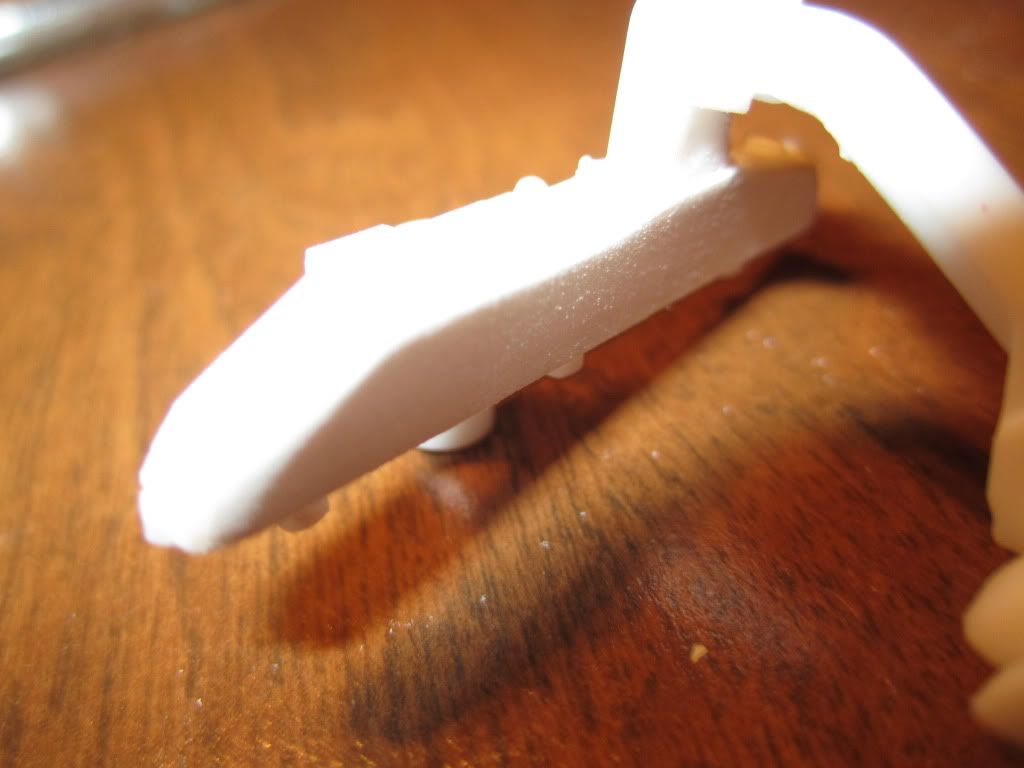
Post by Badluck 13 on Jun 22, 2012 9:15:47 GMT -8
|
|
|
|
Post by ap40rocktruck on Jun 22, 2012 11:09:02 GMT -8
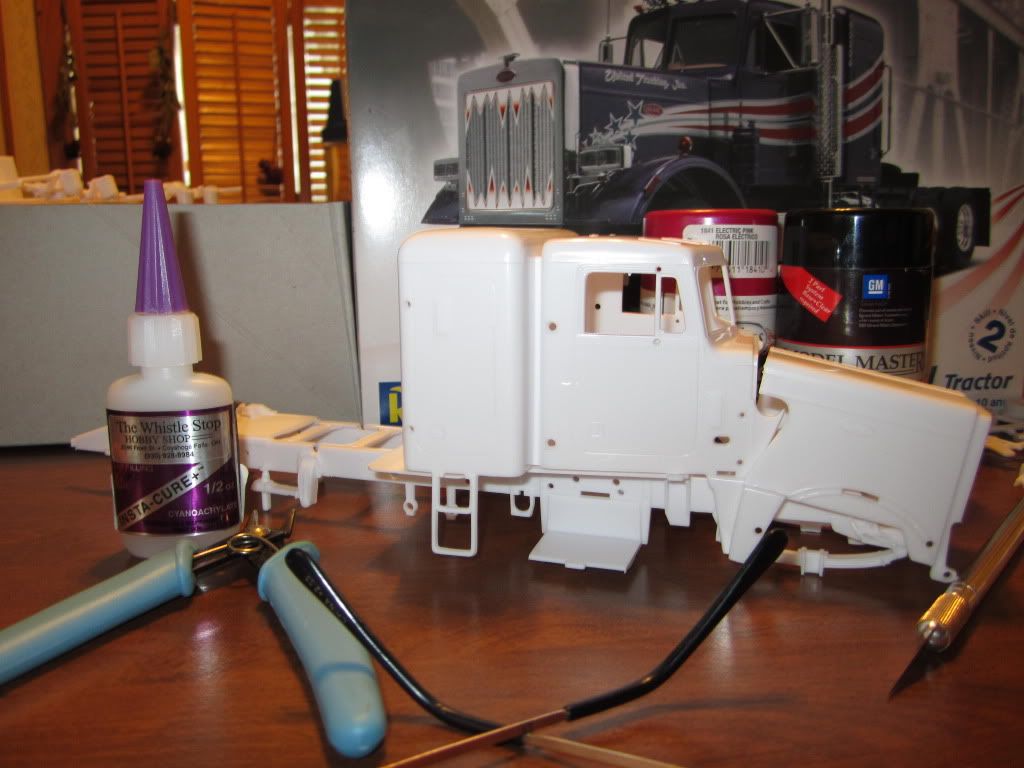
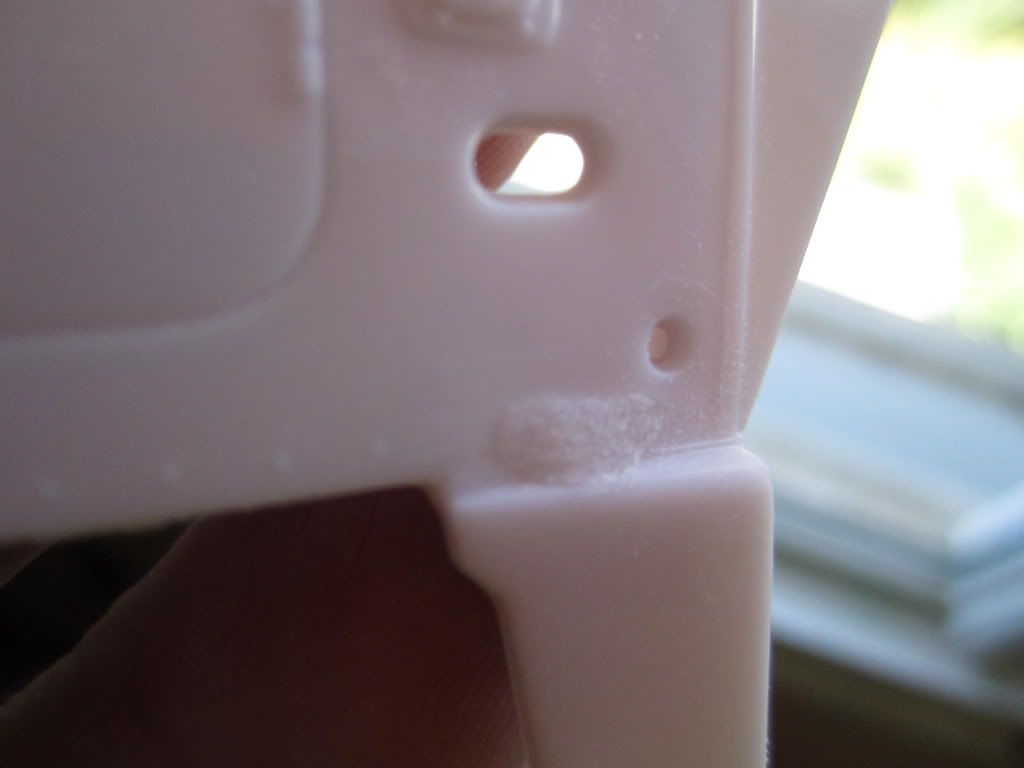
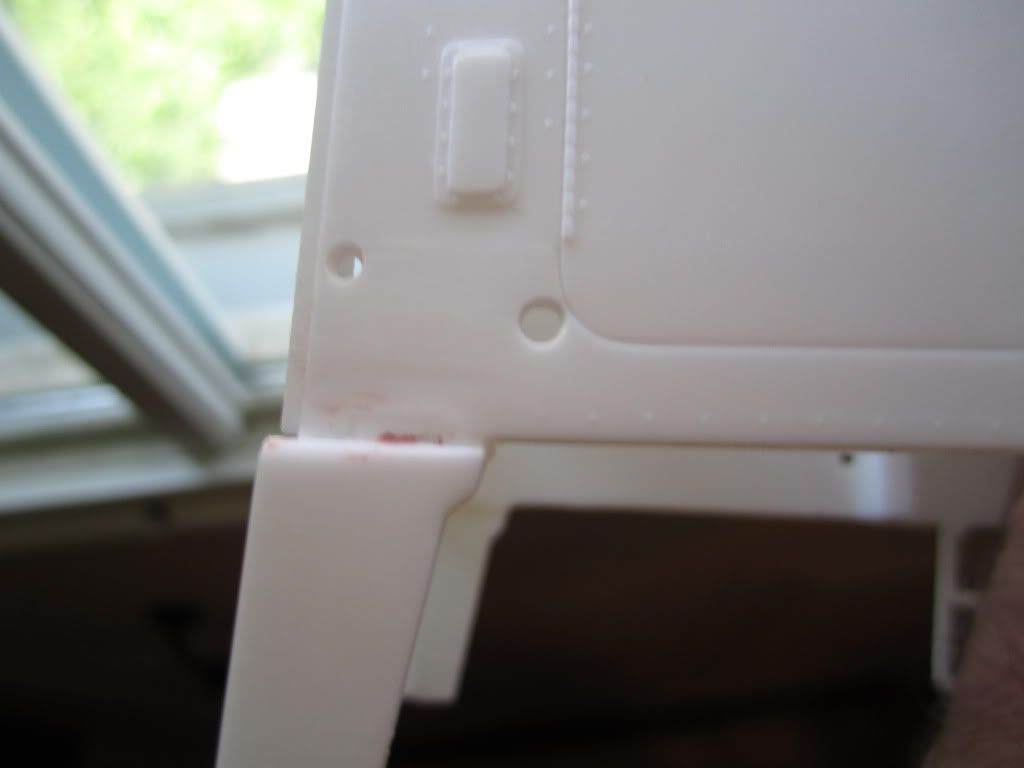
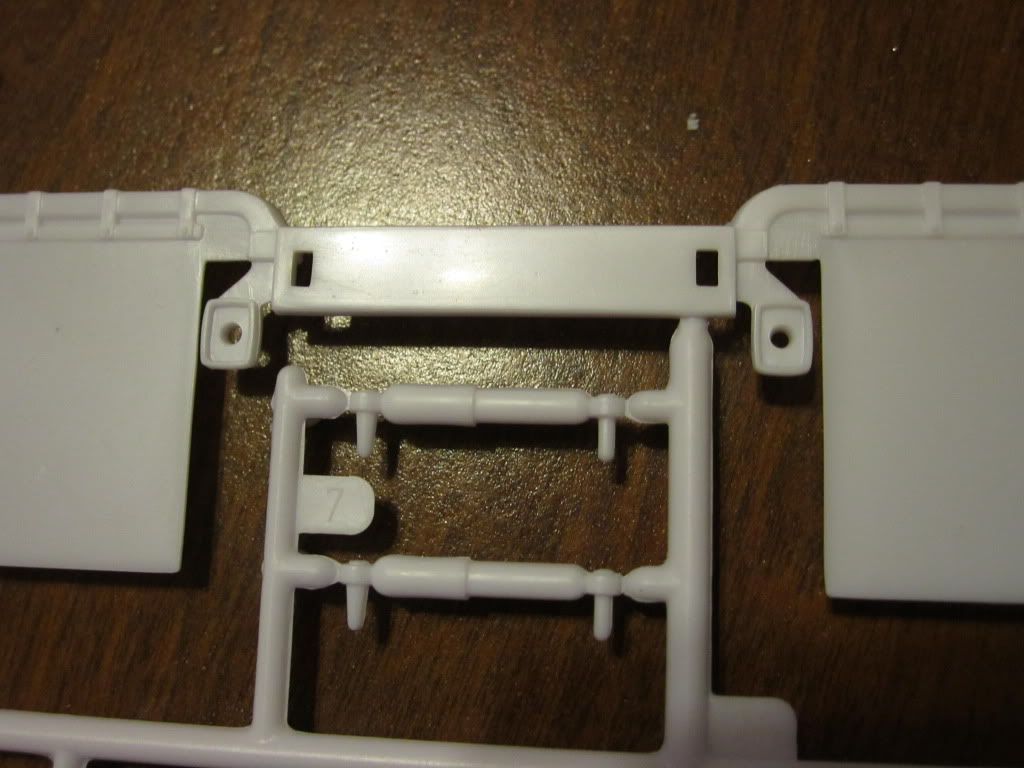
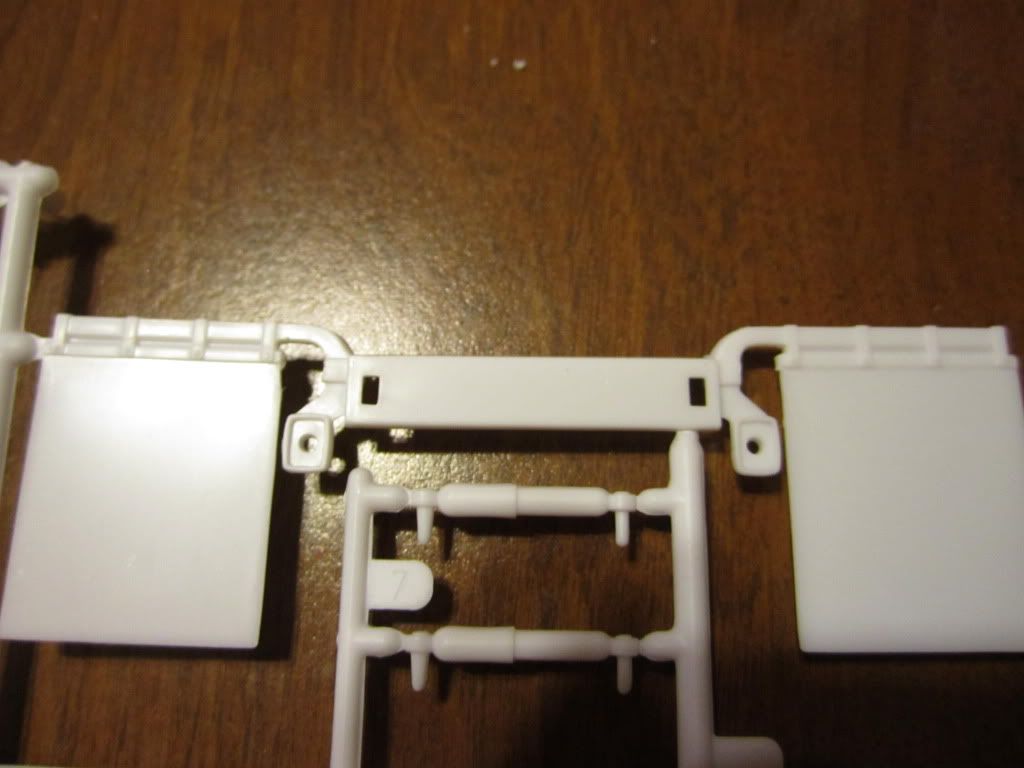
Looks good from what can be seen in the photos. I suggest that when you are filling in holes & voids in plastic parts that you use plastic instead of superglue. drill out the hole or file the slot to accept a suitable snug fitting bit of evergreen styrene & solvent weld it to the kit part. After it sits overnight, file & sand it out. You will find by using the same material it will sand out better & blend in with out the extra work for clean up the much harder superglue.
If you prefer, use some of the otherwise tossed in the trash sprue or runner that all those kits parts are attached to in the box. Especially if it is molded in color.
Ap40
|
|
|
|
Post by Muleskinner on Jun 22, 2012 11:29:20 GMT -8
As with what Rick said, Evergreen makes various sizes of plastic rod which can be fitted to the holes and then solvent welded in and sanded flush. This is the same technique I use for filling unwanted holes. Its also a lot less work then using Body putty to fill with and a lot less messy. The rod comes in round and square. When using the plastic rod for filling holes, I use one which is a little big and then taper the end, then with a little bit of force push it into the hole and cement. When dry I cut it off and sand over it till it is a flush fit.
For filling the seams in fuel tanks the round rod can also be used. Take a small diameter piece which will lay in and cover the seam and cement it in place. When dry sand it down flush. Ive also done this which overly large seams where large pieces never quite go together right. Like the AMT Tanker which is a disaster in itself. The tanker unit I built had so many large gaps between the plastic It took a lot of different size rods to finally get a half way decent model by filling the seams.
The AMT double dual Freightliner tractor cab is another area which is a disaster the way it goes together. I built one and used the round rod to fill in the nasty fitting gaps which were there.
Willaim
|
|
|
|
Post by Badluck 13 on Jun 23, 2012 6:49:02 GMT -8
William,Richard,Hey thanks for the tip,I do try to fill the holes with old plastic for some strength and a better fill and use a filler as putty and or super glue BUT I never thought of your tip which make way more sense and a much stronger hold/fill....this is a tip I will definitely use,because my method takes forever and not always blends in good,your method sounds like it will almost "blend" the plastic together as one ....thanks!!!!
|
|
|
|
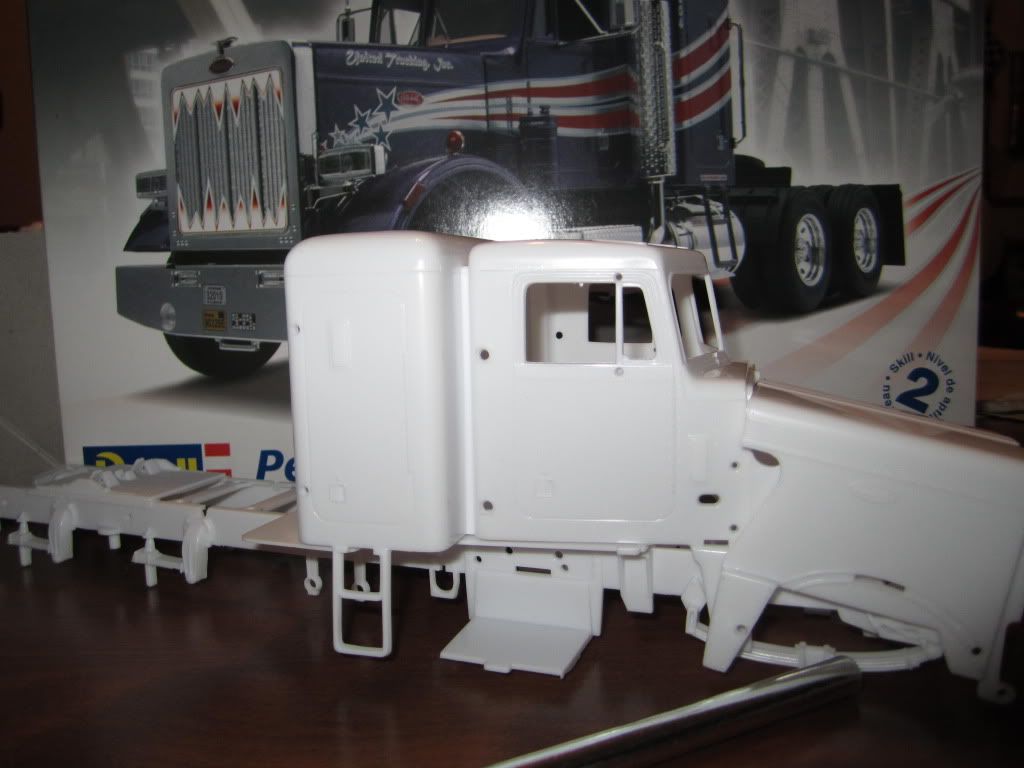
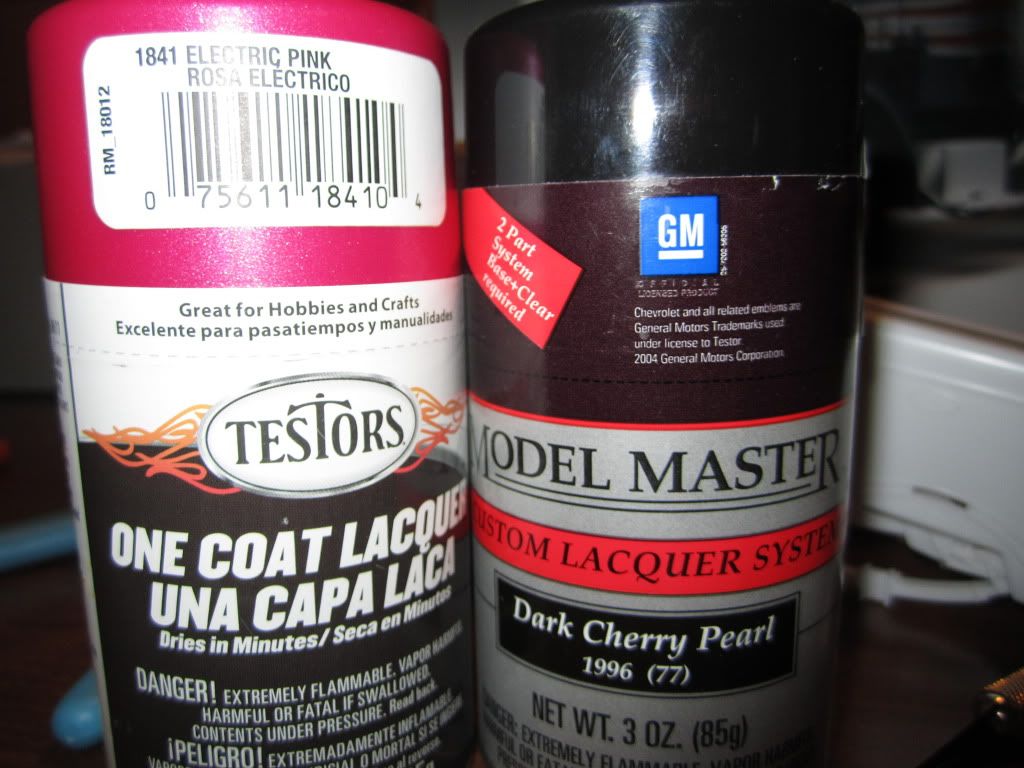
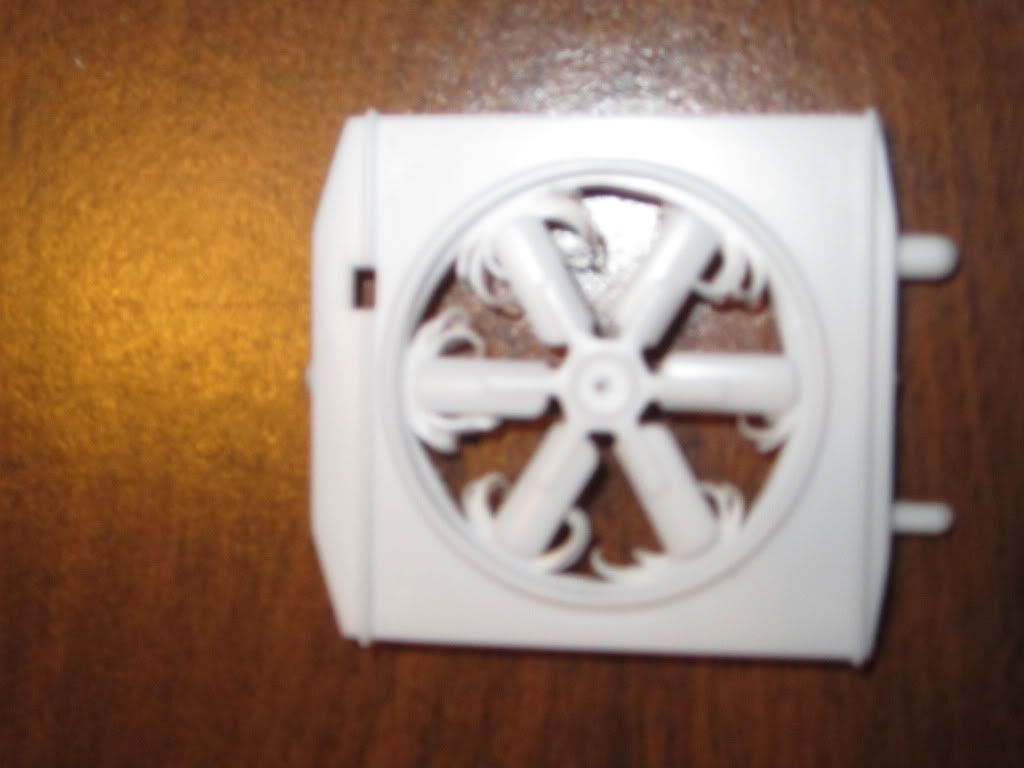
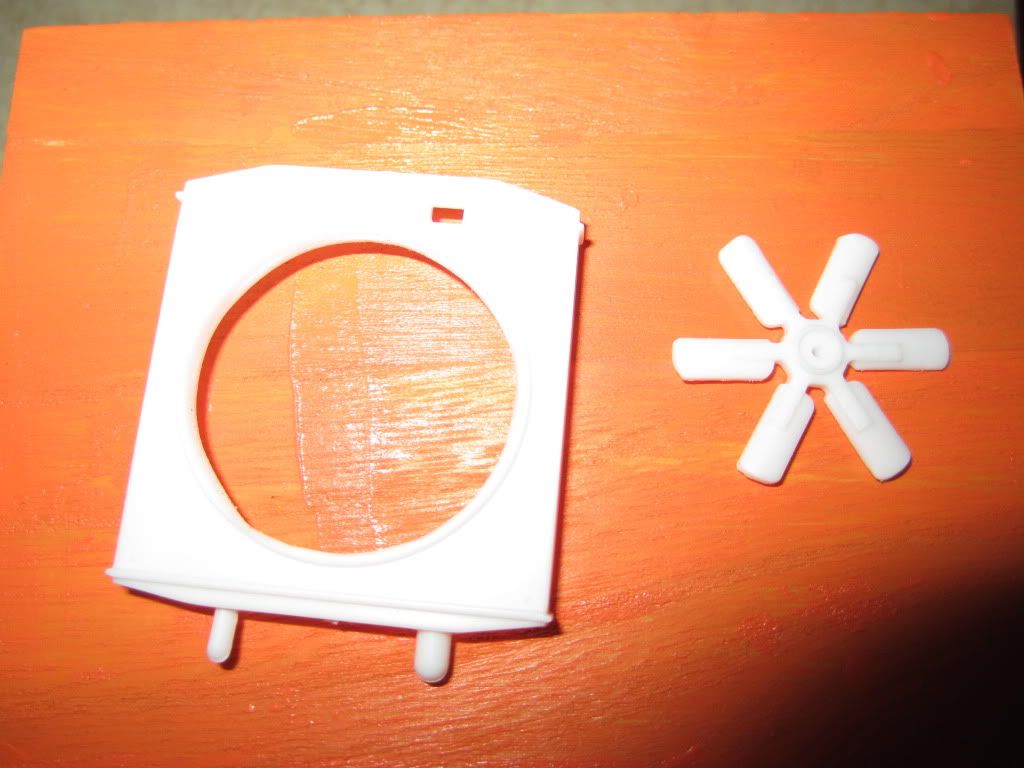
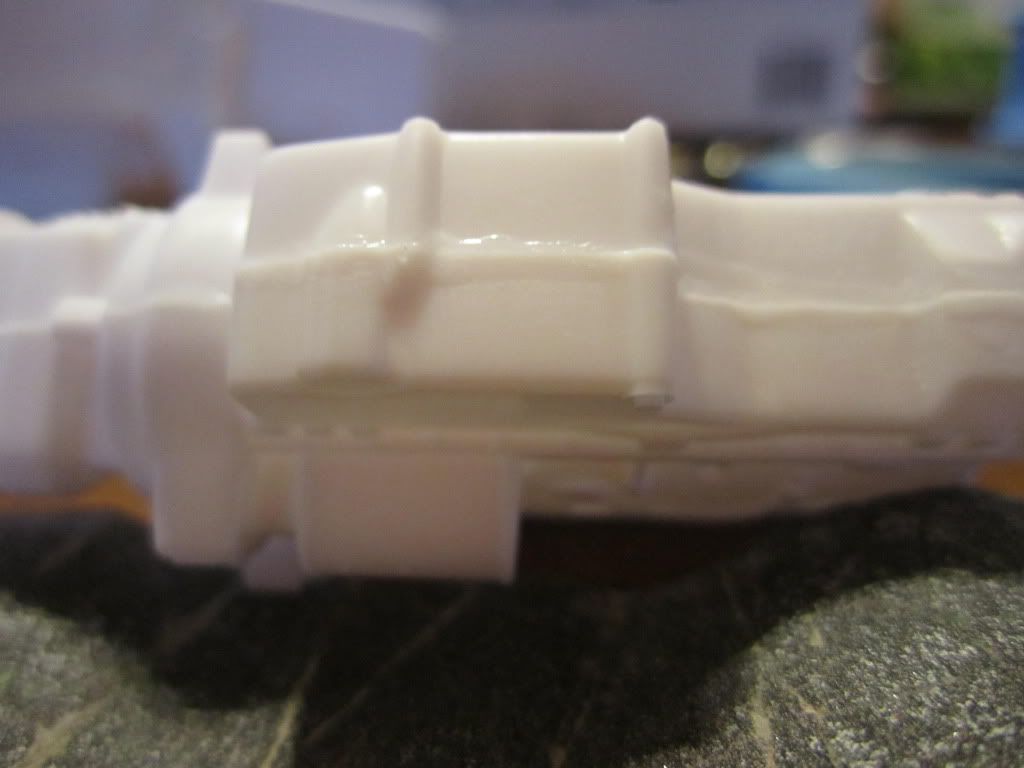
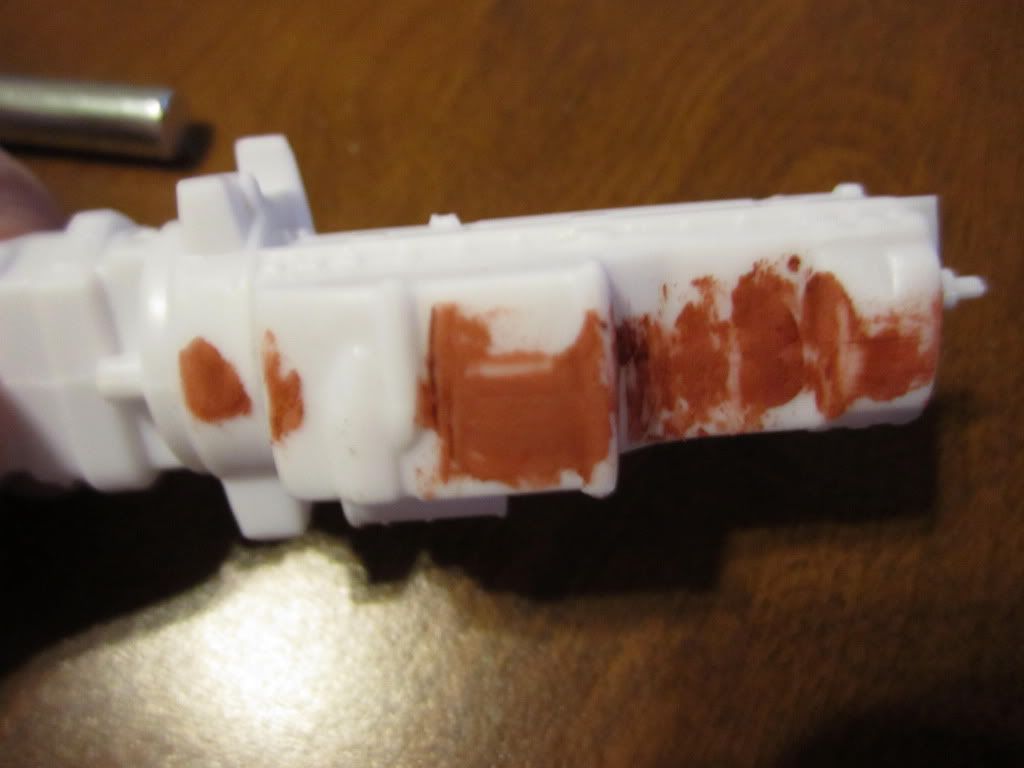
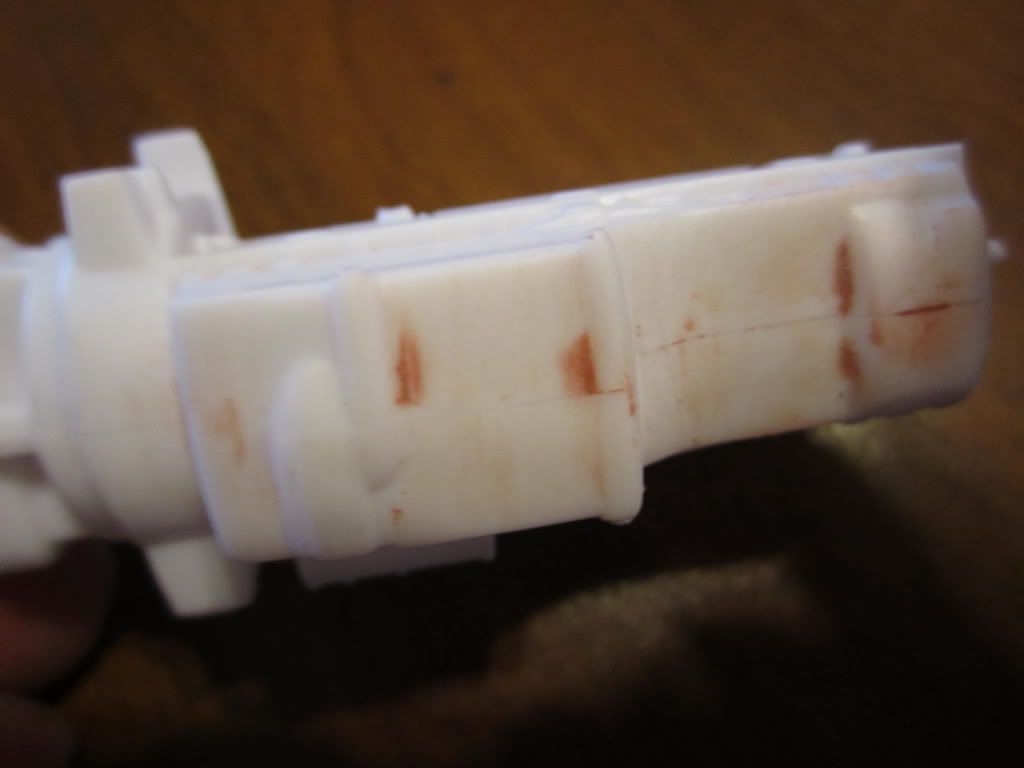
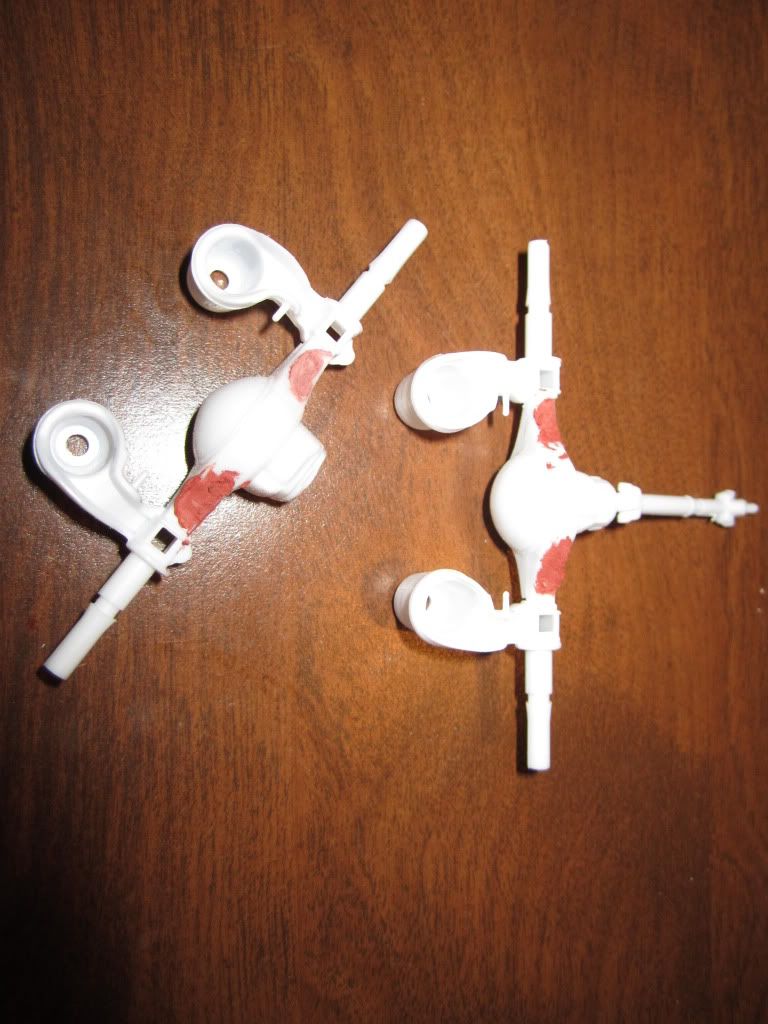
Post by Badluck 13 on Jul 21, 2012 18:41:57 GMT -8
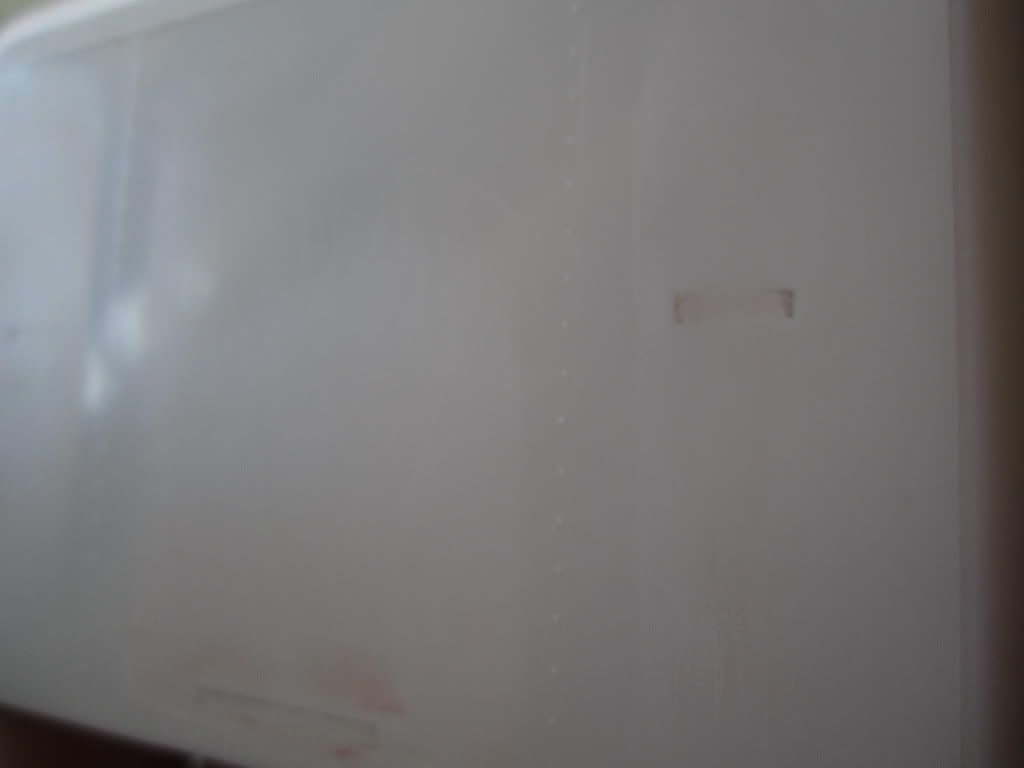
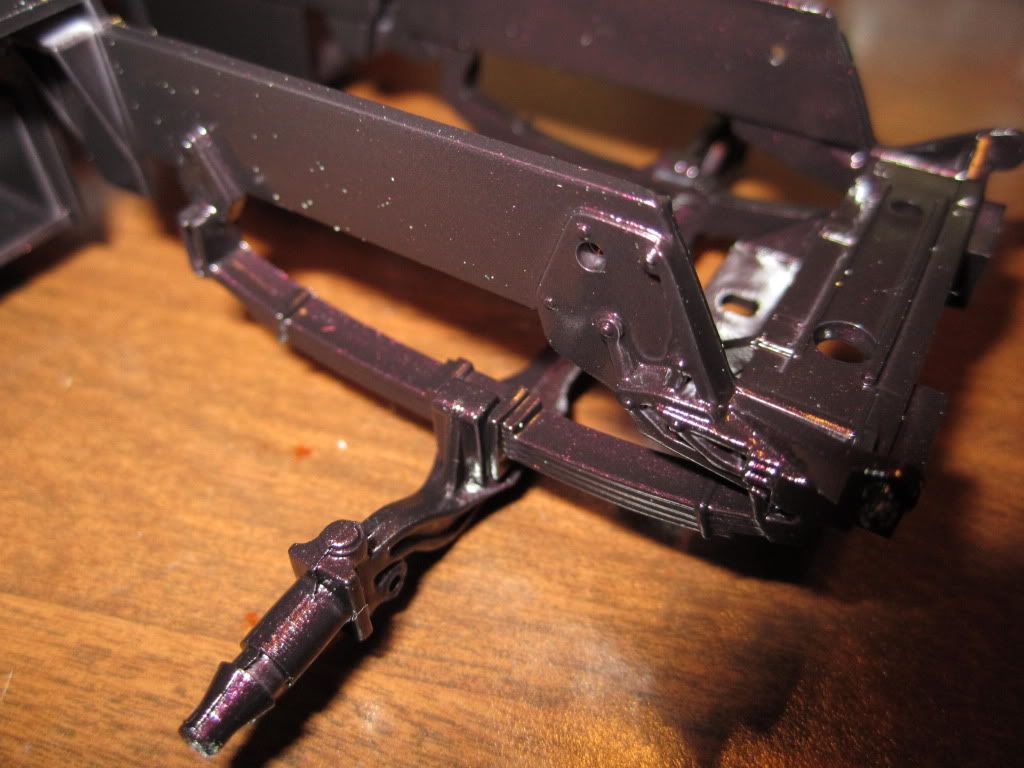
Very small update on the Pete,been working off and on with this and "Annie"......started the engine assembly and done a small amount of plumbing....As always I am open to suggestions and comments good,bad,and or ugly........  Also started the "rust" on the exhaust manifold and turbo. 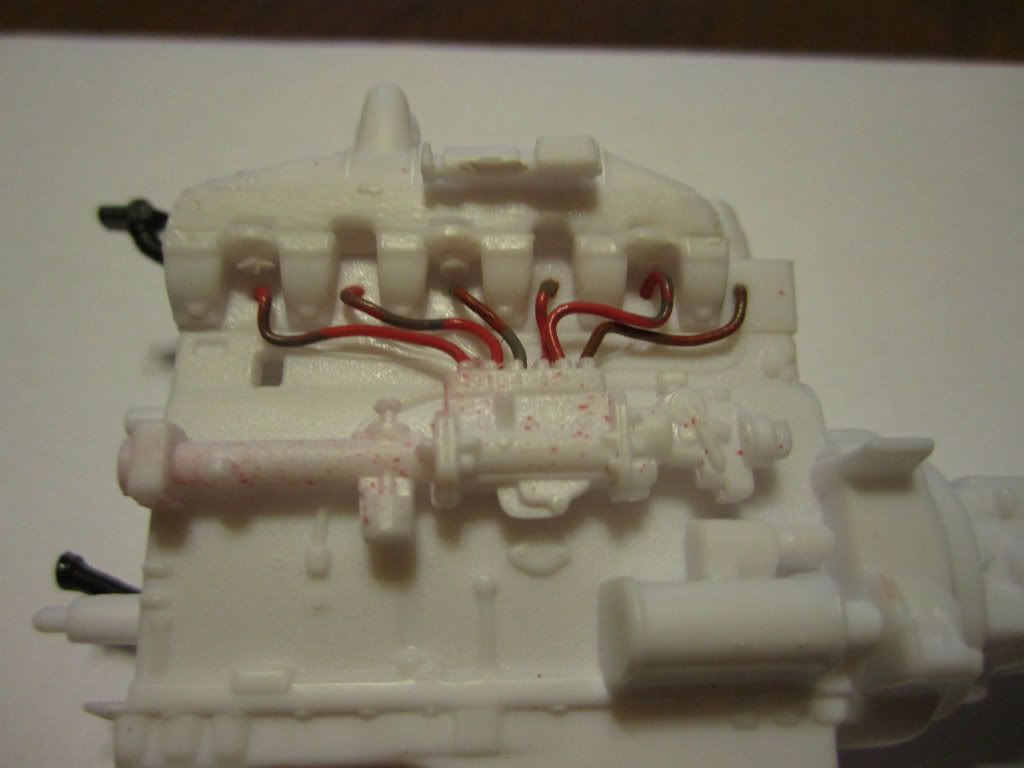 Thanks for lookin' |
|
|
|
Post by Joris Scholte on Jul 22, 2012 1:08:53 GMT -8
Looks great so far! Be careful with the kit tires, they are very hard to get straight on the rims!
|
|
|
|
Post by Muleskinner on Jul 22, 2012 18:35:24 GMT -8
Looks great so far! Be careful with the kit tires, they are very hard to get straight on the rims! If it we me I would just pitch em and get a better set of wheels & tires for this build. Course only my opinion. |
|
|
|
Post by Badluck 13 on Aug 15, 2012 17:54:03 GMT -8
|
|
|
|
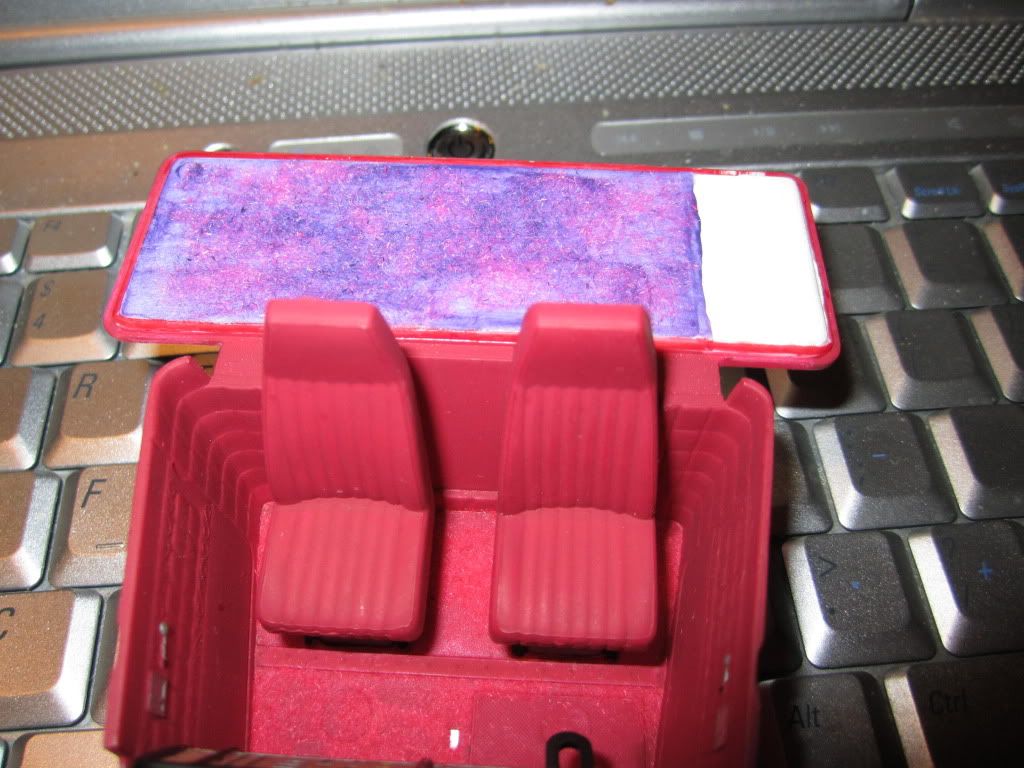
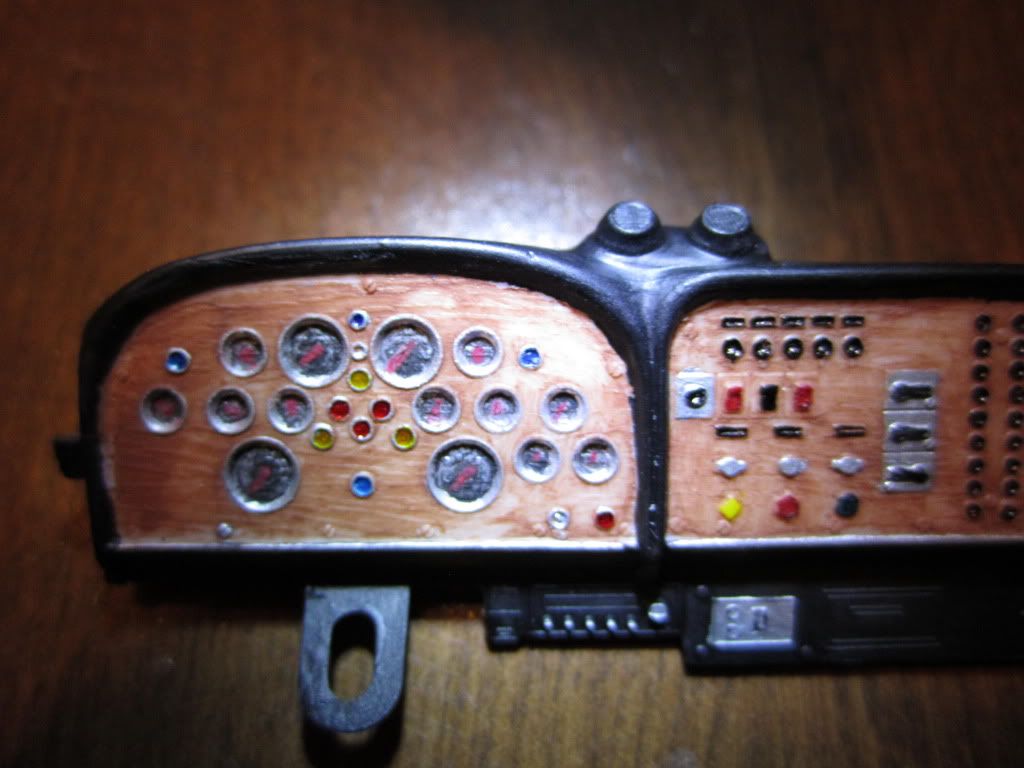
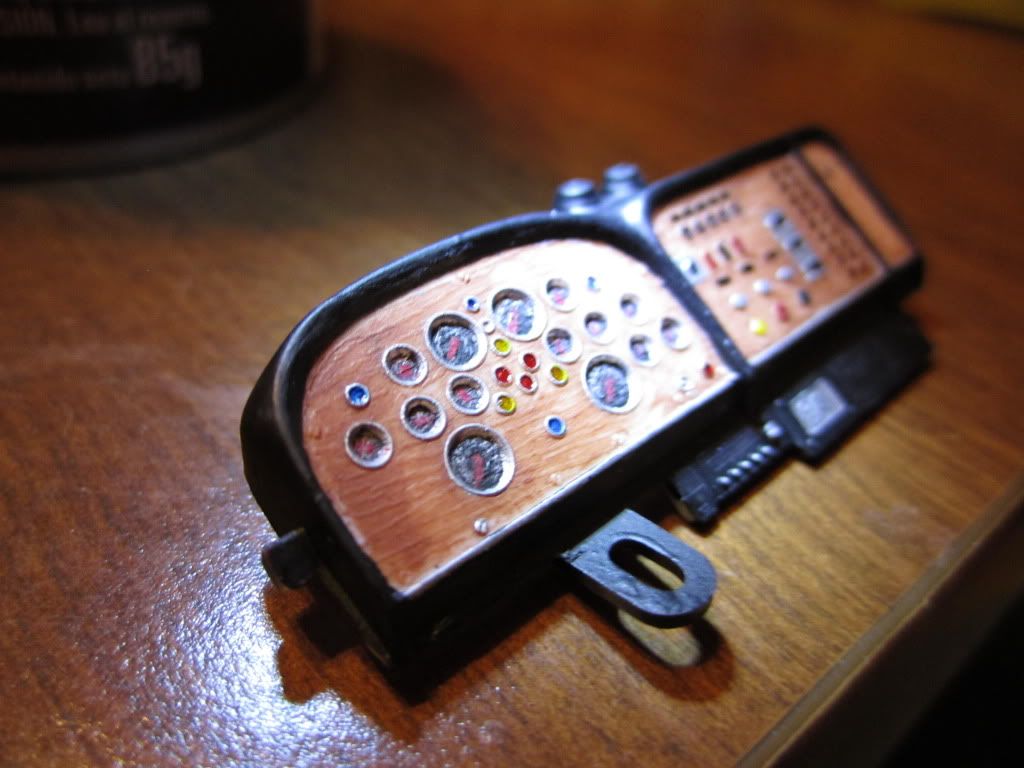
Post by gator on Aug 15, 2012 18:48:27 GMT -8
Mike,
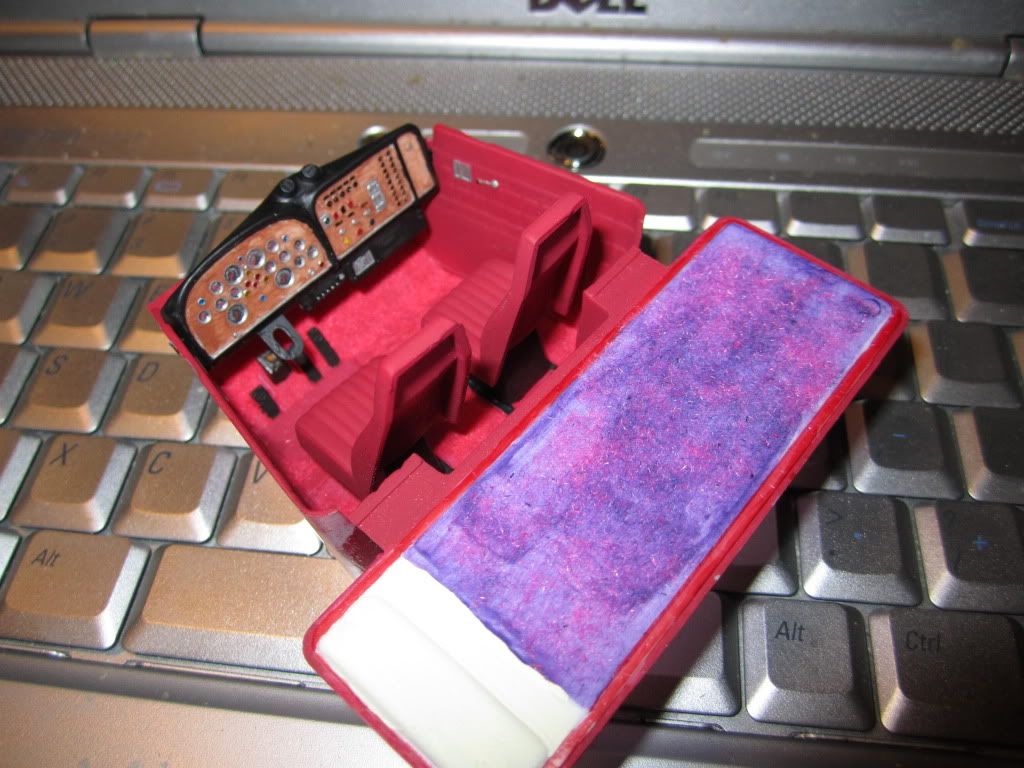
That is looking good. I really like what you did to the interior. Tip: to make they gauges look like they have glass on them. you can either, get the clear window making stuff. Or use some clear paint .
What is babygirl working on?
Be well
Gator
|
|
|
|
Post by ap40rocktruck on Aug 16, 2012 9:51:10 GMT -8
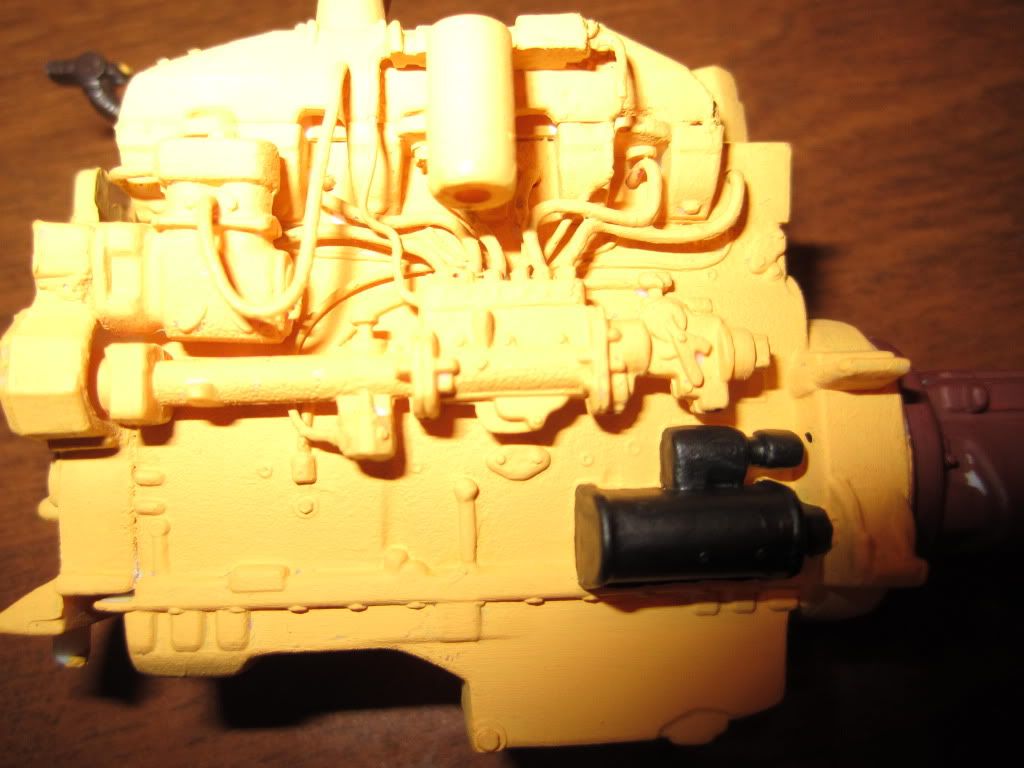
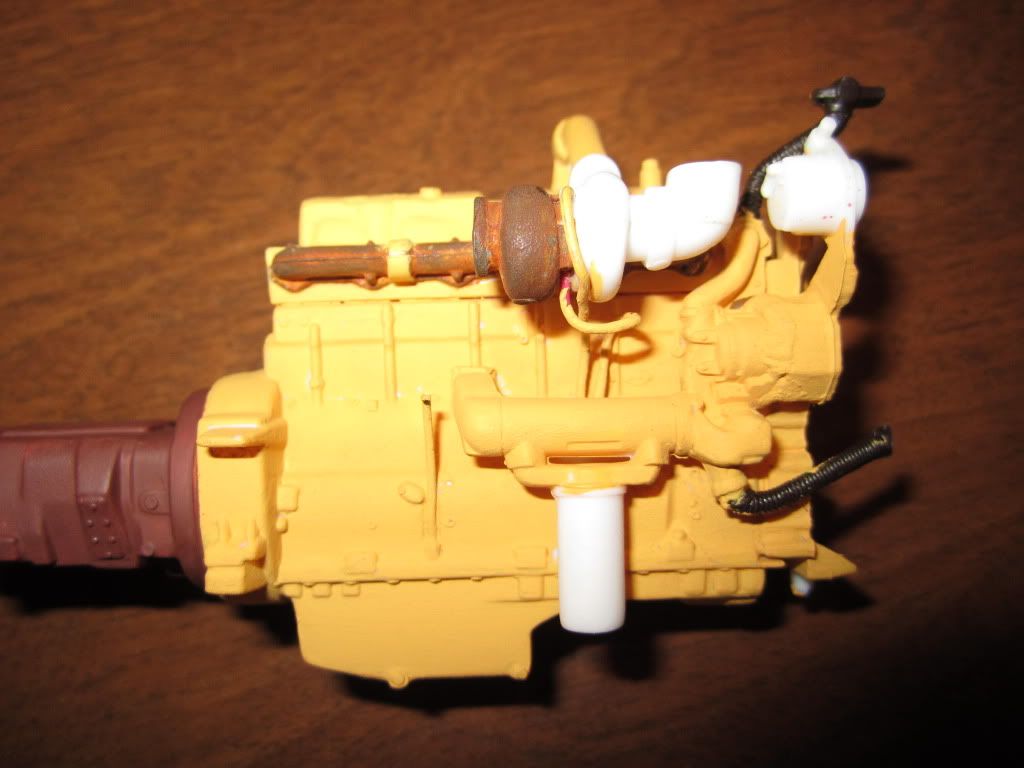
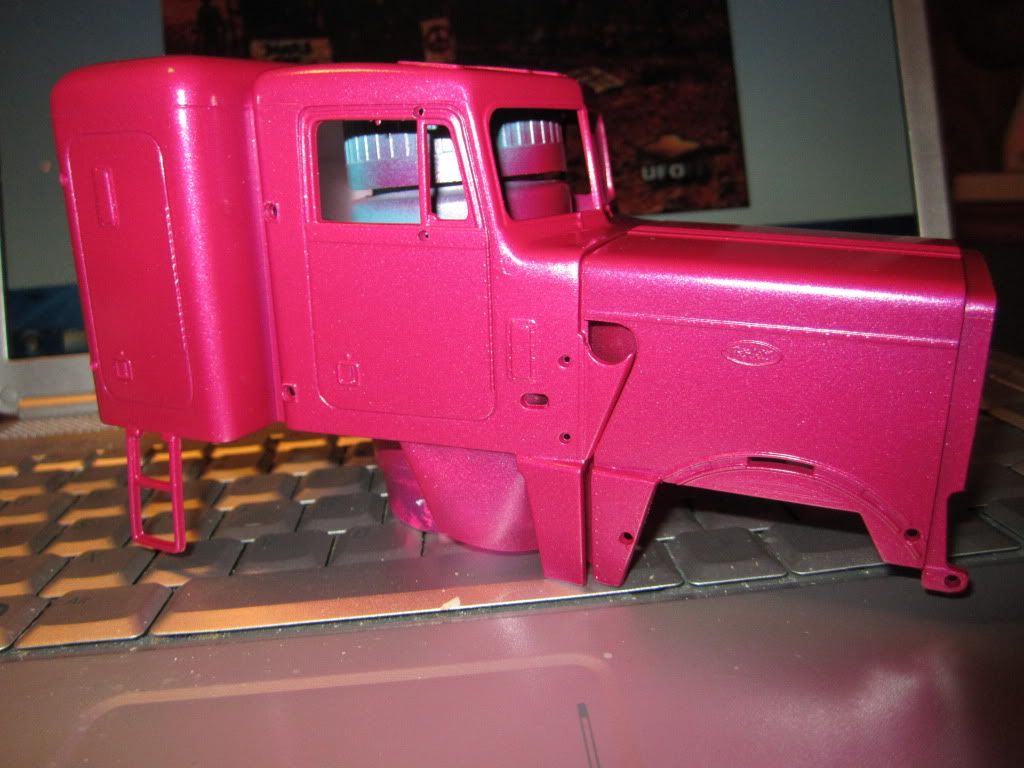
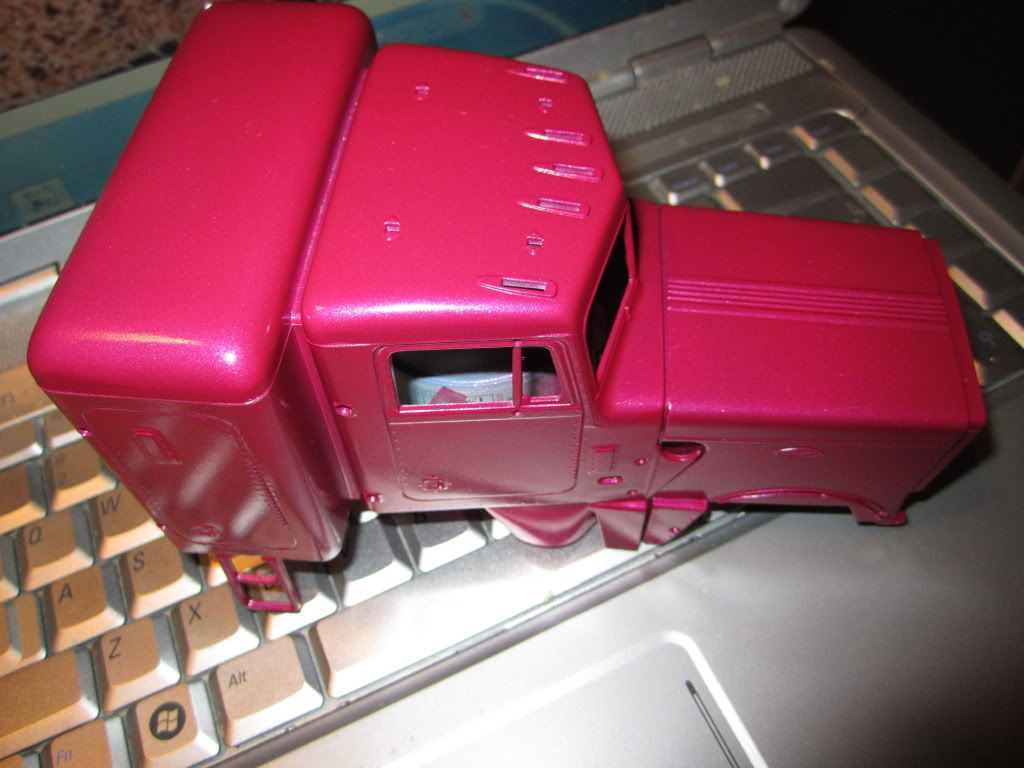
Nice build so far, Pink seems to work well on a Peterbilt 359... Small suggestion, when you are doing the fuel lines on the Cat (or any) engine, either strip the wire of its insulation if it is a solid core, or use solid wire of about 26-28 gauge. This will scale out closer to the 1/4" diameter used on most engines of that time period. In 1/25, 1 mm = 1", so it looks like your fuel lines are about 1" pipe! Attached is a Cummins HB-600 with the fuel lines done in #26 solid copper wire. Ap40 Attachments:
|
|
|
|
Post by Badluck 13 on Aug 16, 2012 16:30:37 GMT -8
Mike, That is looking good. I really like what you did to the interior. Tip: to make they gauges look like they have glass on them. you can either, get the clear window making stuff. Or use some clear paint . What is babygirl working on? Be well Gator Thanks Gator!!!,I did try some clear and looks much better......Baby Girl hasn't really started on anything yet with summer and all,it seem always about 9:30-10:00 pm she wants to start on her kits lately,she been reading up on the forums so hopefully get her rollin' again,I can guarantee when the cooler weather starts she will be glued to the bench.... |
|
|
|
Post by Badluck 13 on Aug 16, 2012 16:39:59 GMT -8
Nice build so far, Pink seems to work well on a Peterbilt 359... Small suggestion, when you are doing the fuel lines on the Cat (or any) engine, either strip the wire of its insulation if it is a solid core, or use solid wire of about 26-28 gauge. This will scale out closer to the 1/4" diameter used on most engines of that time period. In 1/25, 1 mm = 1", so it looks like your fuel lines are about 1" pipe! Attached is a Cummins HB-600 with the fuel lines done in #26 solid copper wire. Ap40 Richard,thanks for the tip,I used a smaller wire on a previous kit and wish I did here again,I honestly thought the looked a lil out of scale but wasn't sure....so would stripping the insulation on the phone wire be about the right size?....maybe I can try to redo it.....if not then I got one heck of a hot rod with 1 inch lines  ,thanks again,I really appreciate the info....Ohhh and by the way,that Cummins is beautiful!! |
|
|
|
Post by Badluck 13 on Sept 19, 2012 16:22:31 GMT -8
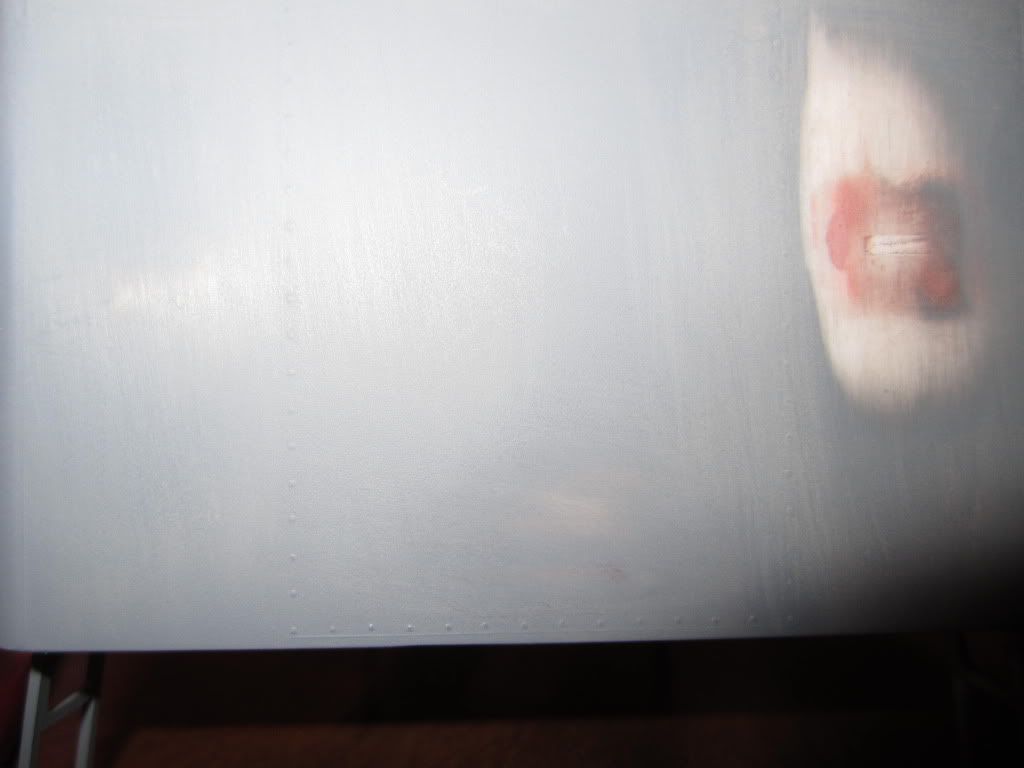
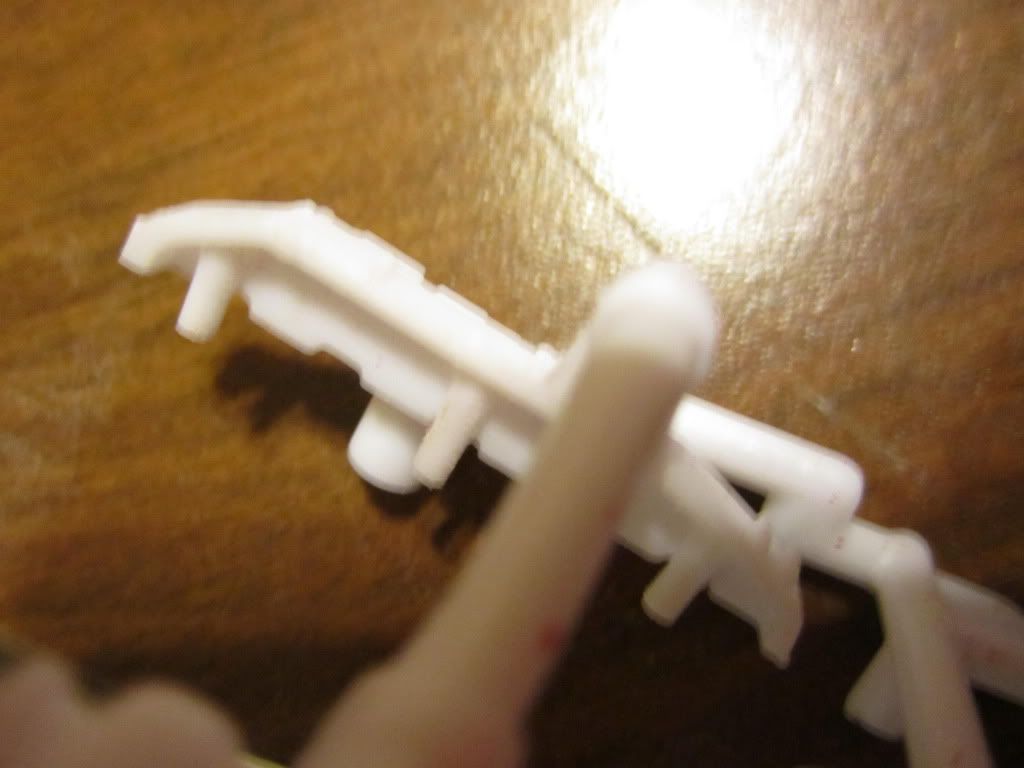
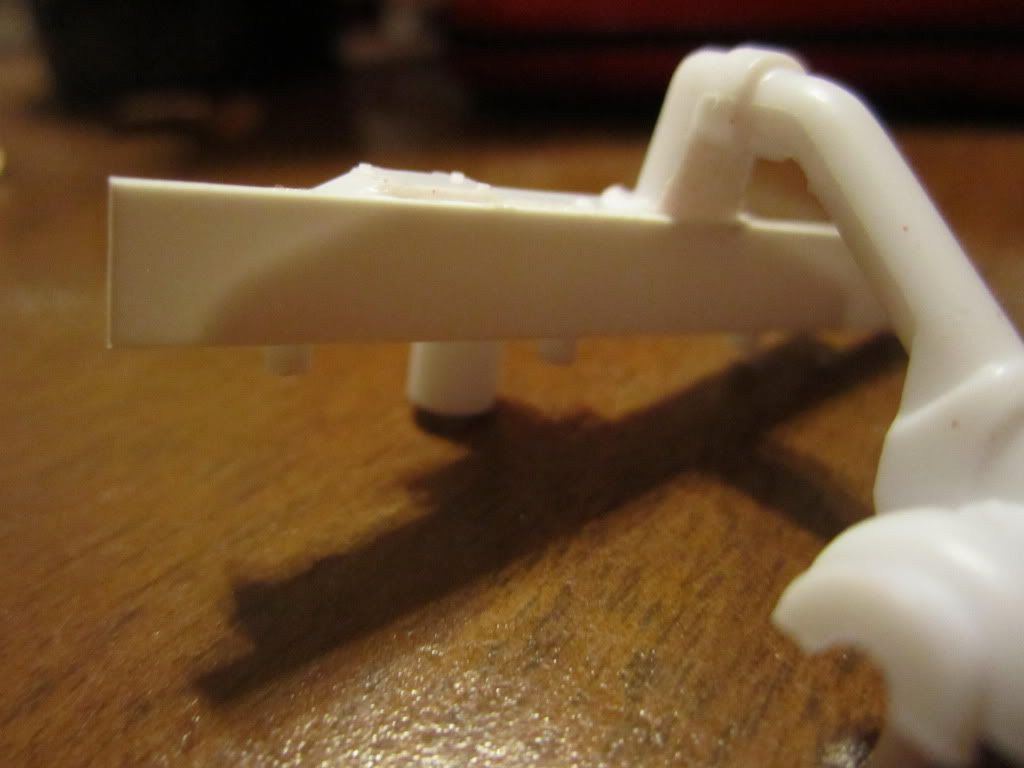
A very very slow update,its starting to be a nightmare,I have only painted and stripped this cab 4 times!!!!!,paint isn't perfect,but it will do,after all its just a Peterbilt  Also my headlight set up has failed terribly,still working at that,would like to have like a Mack LTL set up....heck I would be happy with headlamps   De-chromed  Lamps cut off and waiting for new ones and finished of with SpazStix 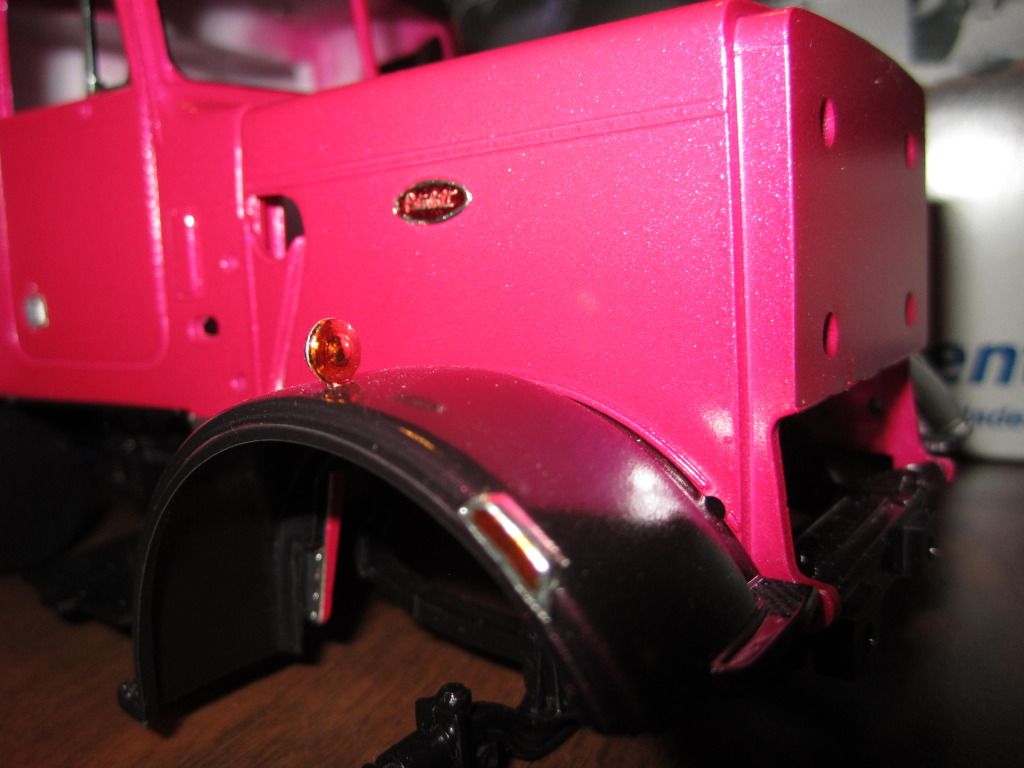 Colors on and some BMF 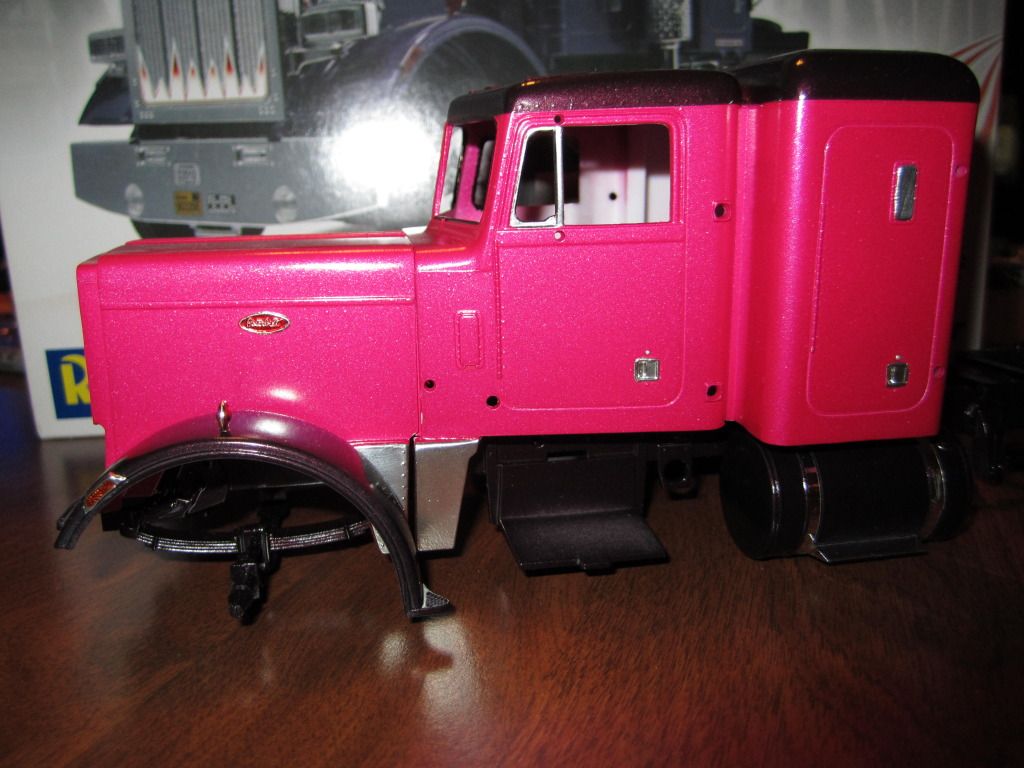 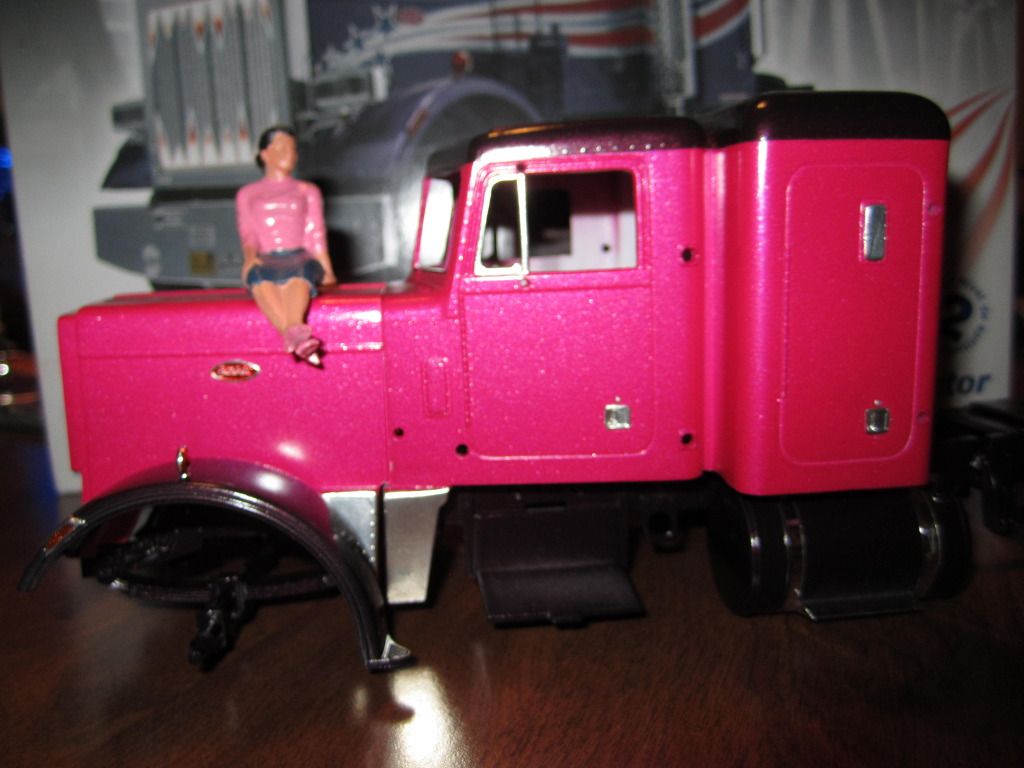 .....As always comments or suggestions good,bad,ugly,and/or indifferent always welcome.....thanks for lookin' |
|
|
|
Post by gator on Sept 19, 2012 16:45:54 GMT -8
Mike,
Looking good so far! I think you are doing a pretty decent job on this one!
Be Well
Gator
|
|
|
|
Post by calscustoms on Sept 19, 2012 18:12:59 GMT -8
love the colors. gonna be nice!!!!
|
|


 ,thanks again,I really appreciate the info....Ohhh and by the way,that Cummins is beautiful!!
 Also my headlight set up has failed terribly,still working at that,would like to have like a Mack LTL set up....heck I would be happy with headlamps
