|
|
Post by jimb on Jan 9, 2014 18:45:31 GMT -8
Sweet looking mirror brackets. I might try that on my next LNT8000. Assuming, of course, that I remember & I can find this picture again!  |
|
|
|
Post by rnagle on Jan 11, 2014 15:07:17 GMT -8
Decals from Jerry! Finally I can post that!  (Have had them for a while, just not ready for lettering yet) Unit # made from Woodland Scenics dry transfer lettering. Strips of Testors white decal paper cut .030 wide for striping. I liked putting the stripes on sooooooo much I did them twice.......  I really did apply them twice as going over black & dark green they weren't quite opaque enough with just 1 layer. Bare Metal Foil used on fender reflector with Tamiya clear orange over top. Ford emblem was cut out of donor (parts box) kit and sanded thinner, Bare Metal Foil also used on it. K&S .016 aluminum used for panels underneath doors and a small disk of same aluminum sheet punched out for lock cylinder. 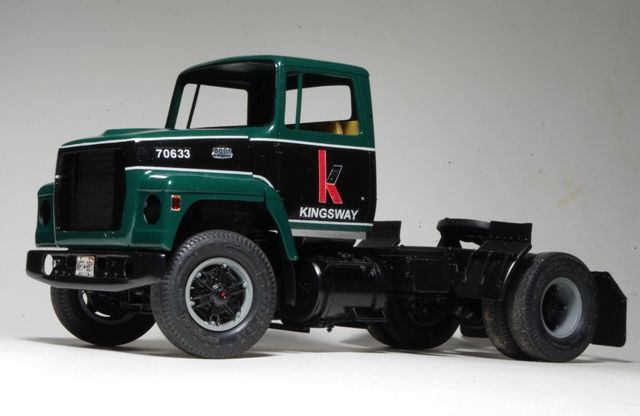 |
|
|
|
Post by rnagle on Jan 14, 2014 18:55:29 GMT -8
"Fiddly bits" like these can be time consuming, a lot of fun to create though. The truck I'm modelling has newer Ford emblem and turn signals lights than the early 70's kit parts. Logo made from oval cut out of .016 sheet aluminum, decal from Ford pickup truck out of my "stash", drop of 5 minute epoxy on top. Signal lights are .030 x .156 styrene strip painted semigloss black, amber and red lenses cut & sanded from ones in the kit parts tree. Headlight pots de-chromed for Alclad, styrene pieces added on back side to represent socket & wiring plug. 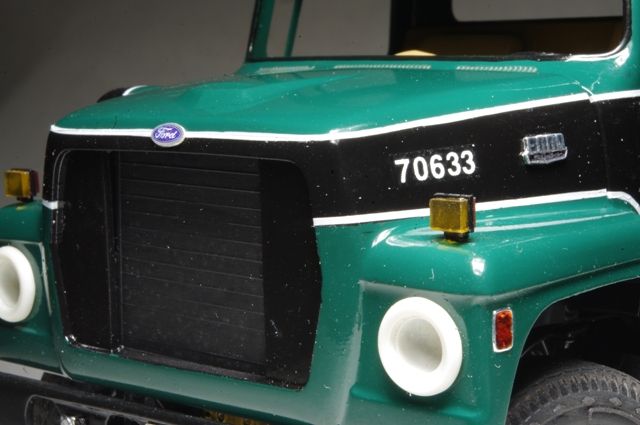 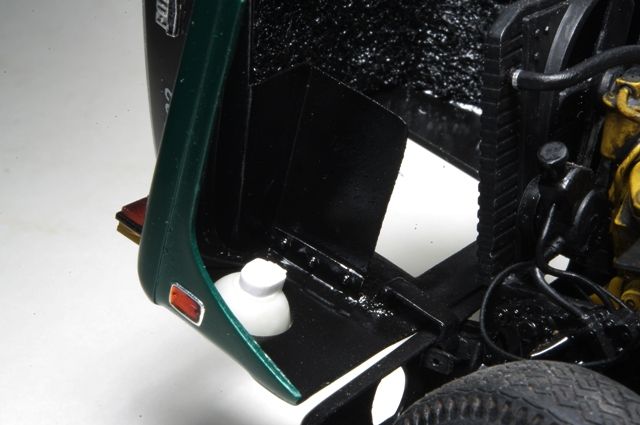 |
|
|
|
Post by jimb on Jan 14, 2014 19:01:32 GMT -8
This is looking great. What did you use for the logo on the side of the hood?
|
|
|
|
Post by rnagle on Jan 14, 2014 19:15:36 GMT -8
Hood side emblem is taken from a "parts donor" Louisville kit, sanded thinner & trimmed to size. Bare Metal Foil used for the chrome finish. I considered just using foil on the molded in kit emblem but it looked to be too shallow.
|
|
|
|
Post by rnagle on Jan 15, 2014 18:26:07 GMT -8
Another item that used to be a common sight in trucks is the little dash mounted fan. AMT's W900 kit has a representation of this, not sure of any other kit versions. This one is made from clear .010 styrene disks laminated together. 1/16" styrene rod forms the pedestal with a .100 styrene rod motor. Base is round styrene disks drilled out for 1/16" rod - I left it extra long so fan can be placed in hole drilled into dash, stronger than just relying on a small glue joint. Small circle of chrome Mylar on end of fan "cage", rest of white styrene parts will get gloss black/Alclad to simulate chrome finish. 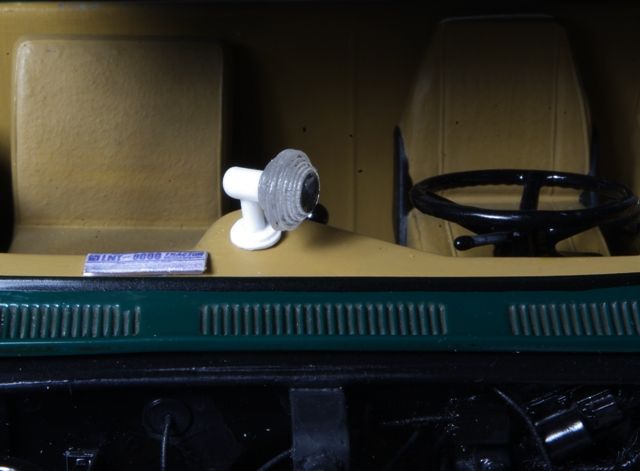 |
|
|
|
Post by jimb on Jan 15, 2014 20:09:58 GMT -8
That is too freekin' cool! Are those the AMT LNT8000 instructions on the dash?
|
|
|
|
Post by ap40rocktruck on Jan 16, 2014 5:27:32 GMT -8
My god man, what a incredible build of a little fleet tractor! Killer all the way.
Ap40
|
|
|
|
Post by Robert Myers on Jan 16, 2014 10:43:55 GMT -8
Excellent!!!!! I have enjoyed looking at the detail and reading how you did it.
|
|
|
|
Post by rnagle on Jan 16, 2014 14:31:21 GMT -8
Thanks guys, yes that is a reproduction of the LNT 8000 kit instruction sheet. Have done that on a few different models as a fun way to put some "dash clutter" in there.
|
|
|
|
Post by rnagle on Jan 18, 2014 18:30:04 GMT -8
Window glass went in today, AMT did a nice job with these Ford kits w-a-y back in the early 1970's by making each window a separate piece of clear styrene and molding a recess around edge. Later kits seemed to take the more simplified approach of one piece fitting inside the cab which sets "glass" well in from edge of cab. Was able to snap reference photos inside an old Louisville at local truck repair shop for last few interior detail items which were coat hook, interior light and horn pull. 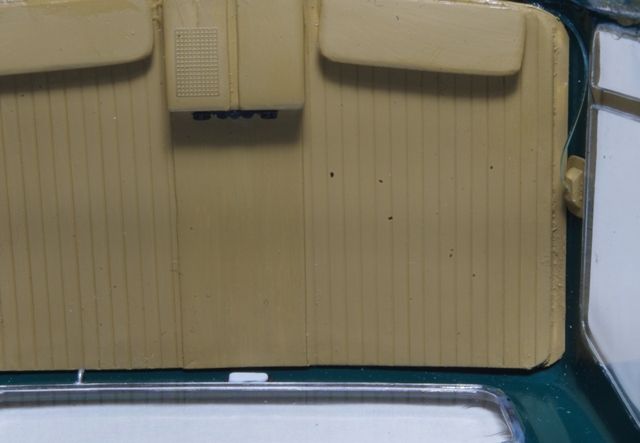 |
|
|
|
Post by rnagle on Jan 19, 2014 9:37:12 GMT -8
The "parts box" cab has been very helpful for this project, here stack is in place to check fit: 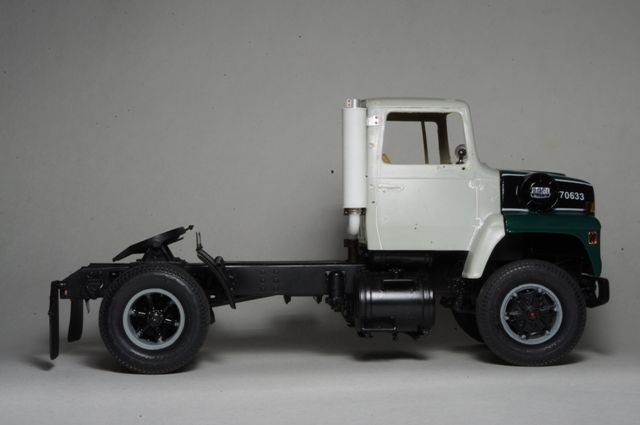 Upper bracket made from styrene strips, "tack glued" in place. Muffler is 3/8" styrene tube. Aluminum tube runs through it, section projecting out top will represent band clamp for stack pipe" 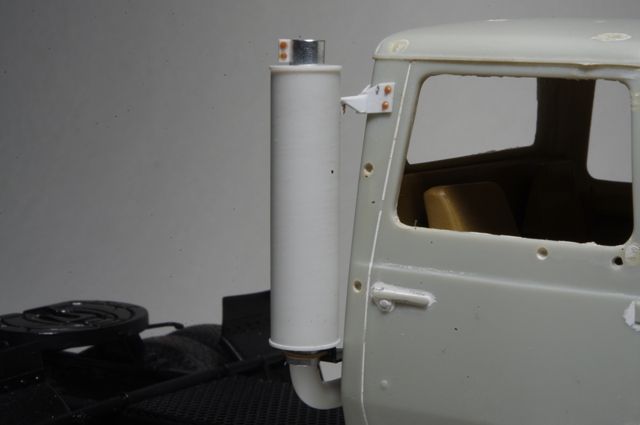 Muffler seam made from .010 x .020 styrene strip. Lower bracket bent from .016 sheet aluminum, .020 brass wire U-bolt holds bottom of muffler. Styrene tube with styrene rod inside heated & bent for exhaust pipe, 2 sections each with 90 degree bend cut to length and attached. Much easier than trying to get 2 bends in the same piece exact!  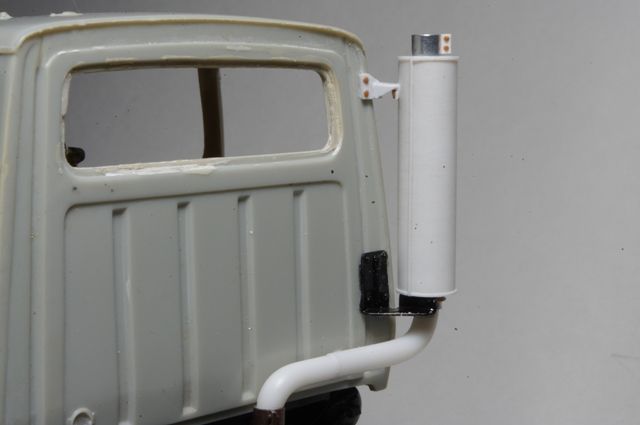 Back to the real cab, trailer connections coiled from wire. Plaskit resin glad hands and electrical plugs. 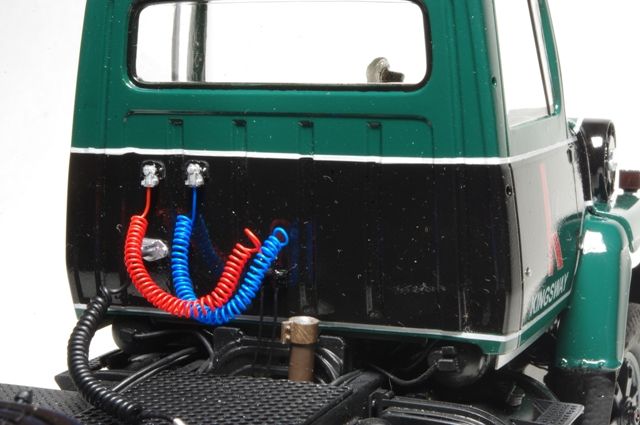 |
|
|
|
Post by ap40rocktruck on Jan 19, 2014 11:32:32 GMT -8
Rob,
You really bring home the reason for keeping a junk cab around for better fit & building on the project. Just a super clean & detailed build.
Ap40
|
|
|
|
Post by rnagle on Jan 19, 2014 20:32:55 GMT -8
Thanks Rick, used a similar approach for mirrors on the Monfort W900 last year, definitely going to keep the "junker" cabs around. Hood latches are another molded on detail replaced with free standing parts. Actually they are so shallow on the kit cab a couple coats of paint and molded on latches would have disappeared, I really didn't have to sand them off. .060 square styrene strip for lower portion, .040 square for upper. .020 brass wire joining them, eyebolt from Tichy Train Group. Another piece of .020 brass wire pins part in place, it still has to come off for coat of silver paint. 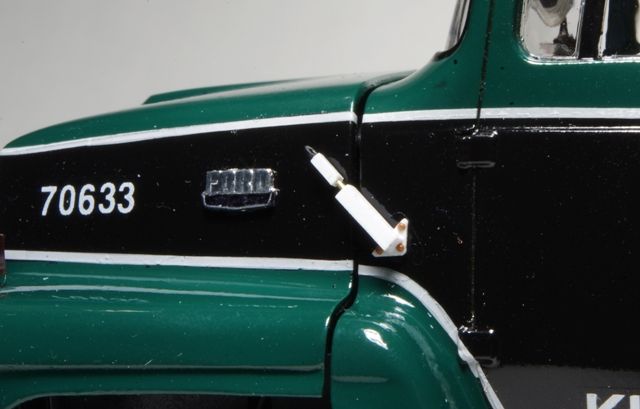 |
|
|
|
Post by gatorincebu on Jan 20, 2014 0:59:50 GMT -8
Robert,
Dayum if you aren't just raisin the bar clean outa sight! Fantstic details. on this one.
Be Well
Gator
|
|